

The fastest way to protect a screen print is simple: wash at or below 86°F (30°C), turn the garment inside out, run a gentle cycle with a mild liquid detergent, skip the fabric softener, and air dry. Do that every time, and a properly cured print can survive well over 50 washes without cracking or peeling.
Quick-check before every wash:
- Water temperature at or below 86°F / 30°C
- Garment turned inside out
- Gentle or delicate cycle selected
- Mild, non-bleach liquid detergent only
- No fabric softener, no bleach
- Air dry flat or on a hanger; if you must use a dryer, lowest heat and pull it out while still slightly damp
- Never iron directly on the print
If a print cracks, peels, or feels tacky within the first one or two washes, that is almost certainly a production issue, not something you caused. Contact the printer with photos and wash details before doing anything else.
Key Takeaways
Proper screen print care comes down to four consistent habits: cold water, inside out, no harsh chemicals, and low or no heat when drying.
| Point | Details |
|---|---|
| Wash at or below 86°F / 30°C | Hot water causes ink films to expand and contract, leading to cracking over time. |
| Always turn garments inside out | Reduces drum abrasion on the print surface; the single highest-return habit change. |
| Skip bleach, softener, and brighteners | These chemicals degrade pigment and undermine ink-to-fiber adhesion. |
| Air dry or use lowest dryer heat | Dryers on high reach 70–75°C, enough to damage ink films in a single cycle. |
| Early failure signals a production fault | Tacky ink or peeling in the first 1–2 washes means under-curing; contact Rnkapparel with photos. |
Table of Contents
- What screen printing is and why the print method changes your care routine
- Why heat, abrasion, and chemicals are the real enemies of your print
- How to wash screen printed shirts the right way
- Safe drying and ironing without damaging the print
- Other habits that protect your print between washes
- Troubleshooting peeling, cracking, and fading
- Care notes by print method: a quick reference
- How to tell if a print failure is from washing or a production defect
- An honest perspective on print care from someone who thinks about this daily
- Rnkapparel prints custom hockey apparel built to last through the season
- Sources
What screen printing is and why the print method changes your care routine
Screen printing pushes ink through a mesh stencil directly onto fabric. The result is a raised ink layer that sits on top of the fibers rather than being woven into them. That distinction matters because the ink film is what you are protecting every time you wash. To understand how screen printing works on custom apparel, it helps to know the main ink families and how each one bonds to fabric.
Common print methods and how they behave:
- Plastisol — the most common ink for team apparel. PVC-based, sits on top of the fabric, requires heat curing at around 320°F. Durable when cured correctly; vulnerable to high-heat washing and abrasion.
- Water-based — soaks into the fiber for a softer hand feel. More breathable than plastisol but slightly more sensitive to repeated hot-water exposure and harsh detergents.
- DTG (direct-to-garment) — inkjet printing directly onto fabric. Requires a pretreatment wash before the first wear; prints can feel stiff initially and need cold, gentle washing.
- DTF (direct-to-film) — a heat-transfer film applied to the garment. The film layer can lift at edges if exposed to high heat or fabric softener.
- Discharge — a bleaching agent removes dye from the fabric and replaces it with pigment. The result is essentially dyed into the fiber, making it one of the most wash-stable methods.
- Sublimation — dye is heat-transferred into synthetic fibers (typically polyester). Once set, it cannot peel or crack; fading is minimal. This is the method behind most sublimated jerseys, which are among the most colorfast options available.
- HTV (heat transfer vinyl) — a cut vinyl film pressed onto fabric. The bond is strong but the edges are the weak point; heat and fabric softener are the two biggest threats.
Sensitivity at a glance:
- Most heat-sensitive: DTF edges, HTV edges, water-based inks
- Most abrasion-sensitive: plastisol, DTG
- Most chemical-sensitive: plastisol, water-based, DTG (bleach and optical brighteners degrade pigment)
- Most wash-stable overall: discharge, sublimation
Why heat, abrasion, and chemicals are the real enemies of your print
Heat is the primary threat to any ink film sitting on top of fabric. Hot water causes the ink layer to expand and contract repeatedly with each wash cycle. Over time, that thermal stress fractures the ink film from within, which is why wash temperatures should be kept at or below 86°F (30°C) to prevent ink breakdown. Modern cold-water settings on US machines meet this threshold without any adjustment.
86°F / 30°C is the maximum wash temperature recommended to protect screen-printed ink films from thermal stress and cracking.
Heat is also cumulative. A print that looks perfect after 10 washes at warm temperatures may crack at wash 25 because the stress has been building invisibly the whole time. This is why the rule applies to every wash, not just the first few.
Mechanical abrasion is the second threat. Inside a drum, garments tumble against each other and against the drum wall. Zippers, denim rivets, and rough fabrics act like sandpaper on a raised ink surface. Turning garments inside out before washing reduces drum friction and meaningfully extends print life with almost no extra effort.
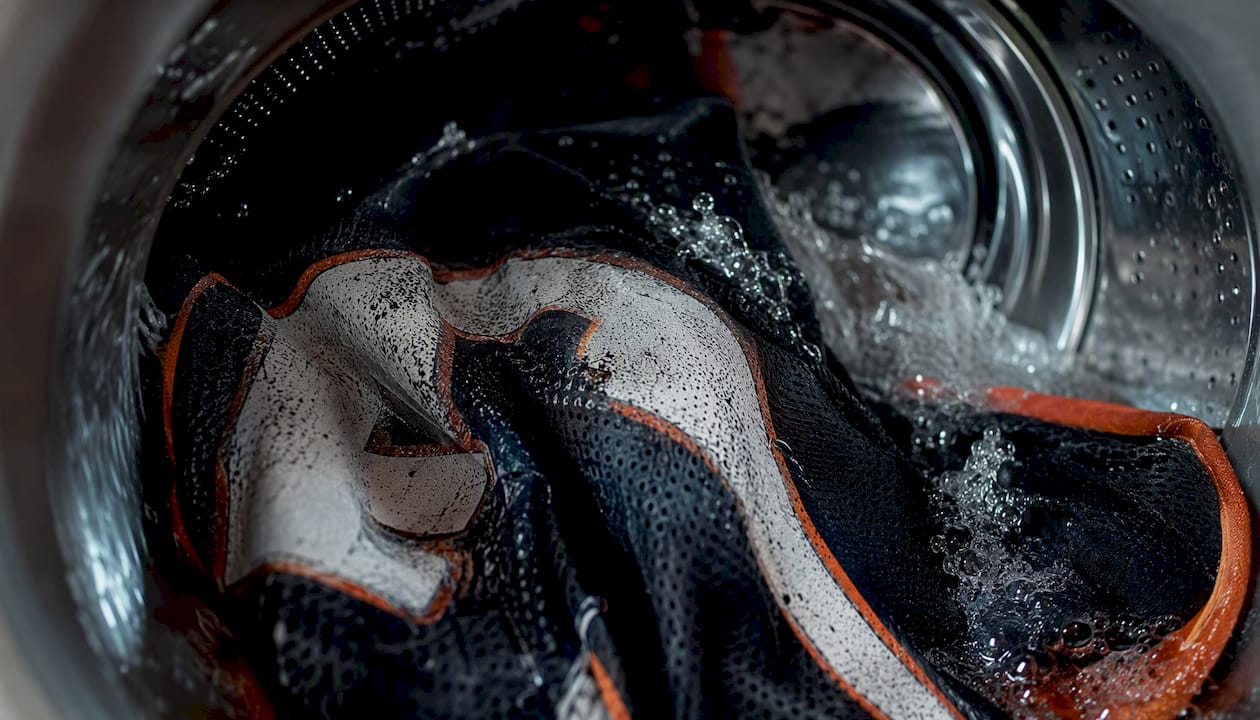
Chemical damage is slower but just as real. Bleach, fabric softeners, and detergents with optical brighteners degrade ink pigments or leave coatings that reduce the bond between ink and fiber. Fabric softener is particularly sneaky: it deposits a waxy film that gradually undermines adhesion, so the print looks fine until it suddenly does not.
Pro Tip: Turning your garment inside out before every wash is the single highest-return habit change you can make. It takes two seconds and protects the print from the full force of drum abrasion.
How to wash screen printed shirts the right way
Cold water, inside out, gentle cycle. That is the whole formula. Here is how to execute it without shortcuts.
Step-by-step washing routine:
- Wait 24 hours after printing. For freshly printed plastisol garments, wait at least 24 hours before the first wash to allow the ink to fully cure. Rushing this step is one of the most common causes of early print failure.
- Sort carefully. Keep printed garments away from denim, jeans with metal hardware, and heavy canvas items. Wash with similar-weight fabrics.
- Turn inside out. Every single time, without exception.
- Use a mesh laundry bag for embroidered or delicate pieces. Hand washing or machine washing in a mesh bag on cold, gentle cycles at 400–600 RPM preserves embroidery stitches and stabilizers. The same bag protects DTF and HTV edges from snagging.
- Choose your detergent carefully. Use a mild, liquid, non-bleach detergent. Powder detergents can leave residue that abrades ink. No color-safe bleach, no fabric softener, no optical brighteners.
- Select gentle or delicate cycle. High agitation tears at ink edges. Gentle cycle keeps the drum motion slow and the spin speed low.
- Keep spin speed moderate. If your machine lets you set RPM, stay under 600 for printed or embroidered garments.
- Unload promptly. Leaving wet garments bunched in the drum creates creases that stress the ink film. Pull them out as soon as the cycle ends.
Pro Tip: DTG prints often feel stiff after the first wash because of pretreatment residue. That stiffness washes out by the second or third cycle. Do not mistake it for a failing print.
Quick do/don’t reminders:
- Do: cold water, gentle cycle, inside out, mild liquid detergent
- Do: use a mesh bag for embroidery and HTV
- Don’t: use bleach, fabric softener, or powder detergents with brighteners
- Don’t: wash with denim or metal-hardware items
- Don’t: leave wet garments sitting in the drum
Safe drying and ironing without damaging the print
Air drying is the right answer. Hang the garment inside out on a hanger or lay it flat, and let it dry at room temperature. No heat, no friction, no risk. Experts identify heat as the main enemy of prints and recommend air drying as the gold standard for preserving both ink and garment shape.
If you need to use a dryer, the rules are strict:
- Lowest heat setting only
- Remove the garment while it is still slightly damp
- Finish drying on a hanger in open air
Warning: Domestic dryers on high settings can reach 70–75°C, well above the threshold that damages ink films and causes significant fabric shrinkage. Even one high-heat cycle can crack a print that survived dozens of cold washes.
Over-drying is its own problem. A garment left in a hot dryer until bone dry has been exposed to sustained heat long after the moisture that was absorbing that heat is gone. Pulling it out damp and hanging it to finish drying cuts that exposure dramatically.
Ironing rules:
- Never iron directly on a print, even on a low setting
- Iron inside out, or place a pressing cloth between the iron and the print
- Use a low temperature with no steam on the reverse side
- For HTV and DTF, avoid any direct heat contact on the design
Pro Tip: If a garment comes out of the dryer with a crease across the print, hang it in a steamy bathroom for a few minutes rather than reaching for the iron. The steam relaxes the fabric without direct heat on the ink.
Other habits that protect your print between washes
Chemical rules (non-negotiable):
- No bleach of any kind, including “color-safe” versions
- No fabric softener, liquid or dryer sheets
- No detergents labeled with optical brighteners or “whitening” agents
- No dry cleaning; solvent chemicals used in dry cleaning dissolve certain ink binders
Spot cleaning is the smarter move for minor stains. A small amount of mild detergent or diluted dish soap, blotted gently with a clean cloth, handles most surface stains without a full machine wash. Blot inward from the edges of the stain; never rub, which spreads the stain and abrades the ink.
When spot cleaning is not enough:
- Assess whether the stain covers the print directly. If it does not, spot clean the surrounding fabric only.
- If a full wash is needed, follow the cold/gentle/inside-out routine above.
- For oil-based stains on a print, apply a tiny amount of dish soap directly to the stain, let it sit for five minutes, then blot before washing.
Storage guidance:
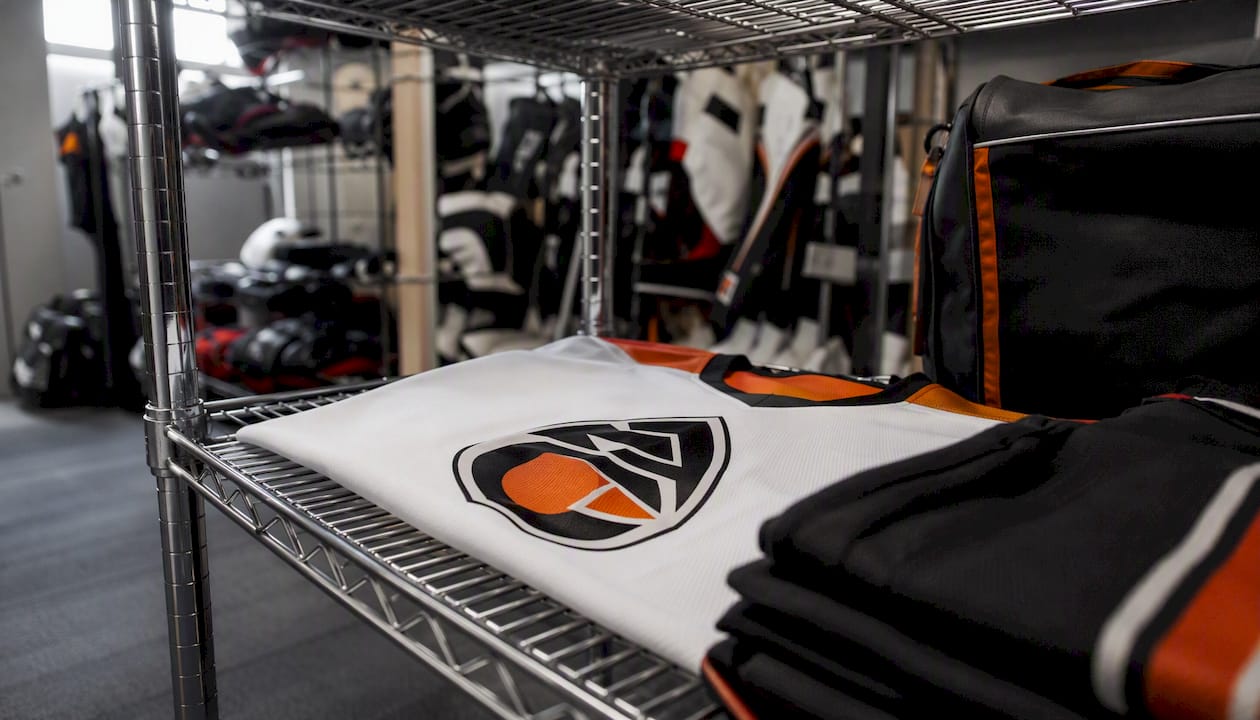
- Fold printed garments with the print facing inward so the ink surface is protected
- Avoid tight folds directly across a large print; roll loosely if storage space allows
- Keep printed apparel out of direct sunlight during storage; UV exposure fades pigments over time
Washing frequency: Wash only when the garment is genuinely dirty. Airing out a lightly worn tee between uses extends print life more than any detergent upgrade. For team uniforms and youth hockey apparel worn repeatedly in practice, a cold rinse after light use is often enough.
Pro Tip: Store printed jerseys and tees flat or loosely rolled rather than folded hard across the chest print. A sharp fold crease repeated over months creates a stress line in the ink that eventually cracks.
Troubleshooting peeling, cracking, and fading
Small surface cracks can sometimes be stabilized by switching immediately to cold hand-washing and eliminating all heat from the care routine. Peeling or cracking within the first one or two washes almost always points to a production defect, not something you did.
Safe remediation steps:
- Stop machine washing immediately. Switch to cold hand-washing only.
- Lay flat to air dry; no dryer, no direct sunlight.
- For tiny flaking edges, do not pick or peel further. A fabric-safe stabilizing spray can hold small flakes in place temporarily.
- Document the damage with clear photos before attempting any fix.
What not to try: solvents, acetone, aggressive scrubbing, or any attempt to re-cure the ink at home with a household iron. These will accelerate the damage.
Signs of a production fault (under-curing):
- Print feels tacky or sticky to the touch right out of the bag
- Ink rubs off on fingers with light pressure
- Cracking or peeling appears within the first one or two washes
- Sticky residue transfers to other garments in the wash
Signs of wash damage:
- Edge cracking after many washes, especially if hot water was used
- Fading concentrated in areas that contact denim or zippers
- Gradual color loss consistent with bleach or optical brightener exposure
If you see signs of under-curing, preserve your evidence. Photograph the print, the care label, the original packaging, and note the date of first wear and first wash. Contact the printer with that documentation before washing again. A properly cured plastisol print can survive 50 or more washes under correct care; failure in the first two washes is not a care problem.
Pro Tip: Save the original packaging and any care card that came with a custom order. If you need to make a warranty claim, that documentation is what gets a reprint approved quickly.
Care notes by print method: a quick reference
The 30°C rule applies across all methods, but each has its own specific vulnerability worth knowing.
- Plastisol: Avoid hot water and high dryer heat above all else. Wash cold, inside out. Dryer on lowest setting or air dry. Most forgiving of the common methods when cured correctly.
- Water-based: Slightly more sensitive to repeated warm-water exposure than plastisol. Cold wash only, air dry preferred. Avoid optical brighteners.
- DTG: Cold wash, gentle cycle, inside out. Expect stiffness after the first wash (pretreatment residue). Air dry; dryer heat can crack the ink layer. Avoid fabric softener entirely.
- DTF: The film edges are the weak point. Wash inside out in a mesh bag, cold and gentle. Air dry only; dryer heat lifts edges. No fabric softener.
- Discharge: Among the most wash-stable methods because the pigment is in the fiber. Standard cold/gentle routine. No bleach, which can strip the replaced dye.
- Sublimation: Sublimated jerseys do not fade easily because the dye is bonded into the polyester fiber. Cold or warm wash is generally fine, but high heat can cause polyester to shrink. Air dry or lowest dryer heat. No bleach.
- HTV (heat transfer vinyl): Air dry only. Dryer heat softens the adhesive and lifts edges. Wash inside out, cold, gentle. No fabric softener.
| Print Method | Top Rule | Dryer Advice |
|---|---|---|
| Plastisol | Cold wash, inside out | Lowest heat or air dry |
| Water-based | Cold wash, no brighteners | Air dry preferred |
| DTG | Cold, gentle, no softener | Air dry only |
| DTF | Mesh bag, cold, gentle | Air dry only |
| Discharge | Cold/gentle, no bleach | Low heat or air dry |
| Sublimation | Cold/warm, no bleach | Low heat or air dry |
| HTV | Cold, inside out, no softener | Air dry only |
For durable youth hockey clothing worn in high-frequency training, plastisol and discharge prints on quality blanks hold up best under a consistent cold-wash routine.
How to tell if a print failure is from washing or a production defect
Timing and touch are the two fastest diagnostic tools. Failures in the first one or two washes almost always indicate a production issue. Failures that develop gradually over many washes usually point to care habits.
Signs pointing to under-curing (production fault):
- Tacky or sticky feel straight from the package
- Ink transfers to fingers with light rubbing
- Cracking or peeling before wash five
- Residue left on other garments after washing
Signs pointing to wash damage:
- Cracking concentrated at print edges after repeated hot washes
- Fading in areas that contact rough fabrics or hardware
- Color loss consistent with bleach exposure
- Gradual softening and loss of opacity over many cycles
The contact the printer guidance from Live Ink is clear: if early cracking appears, document it and reach out before washing again. Under-curing is a fixable production error, and most reputable printers will reprint or refund when presented with clear evidence.
Pro Tip: On the day your custom order arrives, photograph the print in good lighting before wearing it. That baseline photo is your strongest evidence if something goes wrong in the first few washes.
An honest perspective on print care from someone who thinks about this daily
Most care guides treat screen print care as a laundry problem. It is not. It is a materials science problem that happens to involve a washing machine.
The prints that fail early almost never fail because someone used slightly warm water once. They fail because of one of two things: the ink was not fully cured during production, or the owner used a dryer on high heat for months without realizing it. The cumulative heat argument is the one most people miss. Each warm wash does a small amount of damage. Individually, none of those washes looks like the cause. Together, they are.
For team apparel specifically, the inside-out rule is worth enforcing as a team policy, not just a personal habit. A bag of jerseys washed together with zippers exposed will show edge cracking within a season. The same jerseys washed inside out in a cold gentle cycle will still look sharp two seasons later. That is not a marginal difference.
The other thing worth saying plainly: if a print fails in the first two washes, do not blame yourself. Under-curing is more common than most printers will admit, and the signs are unmistakable once you know what to look for. Tacky ink, early peeling, ink that rubs off. Those are production problems. Document them and ask for a reprint.
Rnkapparel prints custom hockey apparel built to last through the season
Rnkapparel specializes in custom hockey t-shirts and team apparel for players, coaches, and parents across the US and Canada. Every order is produced with curing standards that match the care routine in this guide: cold wash, inside out, air dry. If a print arrives with signs of under-curing, the team handles it directly so you are not left troubleshooting a production fault on your own.

Whether you are outfitting a youth travel team or picking up a single custom tee, browse the custom hockey hoodie collection or the full t-shirt lineup and get a print that holds up the way it should. Questions about care or a specific order? Reach out through rnkapparel.com.
Sources
The following sources were used throughout this guide:
- How to Wash Screen Printed or Embroidered Clothes and Keep Them Looking Good — Live Ink
- How to Wash Screen Printed T-Shirts — Printable Press
- How to Wash Embroidered Clothes — TextileTuts
For product-specific care questions or to ask about a recent Rnkapparel order, visit Rnkapparel or reach out through the contact page.
Recommended
- How Screen Printing Works on Custom Apparel – RNK Apparel Co.
- Screen Break Unisex Cotton T-Shirt - Unisex Cotton T-Shirt | Quality Fabric, Versatile Style – RNK Apparel Co.
- Youth Hockey Apparel Durability Checklist for Coaches – RNK Apparel Co.
- Design a Personal Hockey Fan Shirt That Stands Out – RNK Apparel Co.
