
Yes, you can add sponsor patches to team jerseys, but the process runs through your league’s approval before it runs through a needle or a heat press. Start by confirming your league’s or governing body’s patch policy in writing, then lock in placement, and finally prepare vector artwork so your supplier can reproduce the logo cleanly. Skip any of those three steps and you risk a rejected uniform, a botched patch, or an unhappy sponsor.
TL;DR:
- League approval is essential before adding sponsor patches, and written confirmation ensures compliance with specific rules at each competition level.
- Typical patch locations include the chest, sleeve, shoulder yoke, back yoke, and helmet, with size generally limited to 2 to 4 inches on jerseys for visibility without distraction.
- Material choices like embroidery, woven, or heat-seal depend on durability needs and artwork complexity, with backing types affecting attachment method and fabric compatibility.
- Sewing is the most durable attachment method, while heat-seal offers a quicker fix, but each approach requires careful surface testing and proper application.
- Maintaining patches over a season requires regular inspection, proper washing, and storing digital files carefully to facilitate quick reordering if needed.
Table of Contents
- How to Add Sponsor Patches: Where They Go on the Jersey
- Which Rules Govern Sponsor Patches on Uniforms?
- What Patch Material Should You Choose?
- How Do You Attach Sponsor Patches to a Jersey?
- What File Specs Do Suppliers Need for Sponsor Logos?
- How Much Do Sponsor Patches Cost and How Long Do They Take?
- How Do You Maintain Sponsor Patches Over a Season?
- RNK Apparel’s Role in Sponsor Patch Production
- A Kit Manager’s Rollout Checklist
- Ready to Add Sponsor Patches to Your Team’s Jerseys?
- Sources
How to Add Sponsor Patches: Where They Go on the Jersey
Placement decides whether a patch looks intentional or slapped on. Most sponsor logo placements fall into a handful of proven spots. Each one earns its place for a specific reason tied to visibility, broadcast angles, or how the fabric moves during play.
- Left or right chest, opposite the crest: the highest-visibility zone on camera, which is why Notre Dame’s deal with SoFi and Ohio State’s deal with JPMorgan Chase both landed here.
- Sleeve, upper arm: the standard spot in Major League Baseball, where teams began selling sleeve patches after the league’s collective bargaining changes. It stays visible during a swing or a throw without competing with the front crest.
- Shoulder yoke, common in hockey: sits above the number, catches light during quick turns, and doesn’t interfere with padding underneath.
- Back yoke, below the collar: a secondary placement for a second sponsor or a league patch, since it reads clearly on a jersey hanging in a locker or displayed for retail.
- Helmet or hat panel: an alternative when jersey real estate is already committed to a number, name, or existing crest.
Size follows a rough proportion rule. A chest or shoulder patch usually runs 2 to 4 inches across on a game jersey, roughly a third the size of the main team crest so it reads as a supporting mark rather than competing for attention. Jacket or bag patches can run larger, often 4 to 10 inches, since outerwear has more open fabric to work with according to production specs from custom patch manufacturers.
Sport changes the math slightly. Football sleeves are narrow and curved, so a tall, slim patch shape fits better than a wide rectangle. Soccer chest space is often already split between crest, kit maker logo, and number, so sponsors frequently land on the sleeve instead. Hockey’s shoulder placement works because the jersey’s cut leaves that panel relatively flat and undisturbed by movement. For a deeper look at proportion and balance, RNK Apparel’s guide on logo placement on team jerseys breaks downsizing ratios by garment type.
Which Rules Govern Sponsor Patches on Uniforms?
Every level of competition has its own gatekeeper, and skipping that check is the single most common reason teams have to redo a patch order mid season. Professional leagues, college athletic conferences, local youth associations, and independent event organizers each set their own policy, and those policies rarely match each other.
The clearest recent example: the NCAA approved a rule change in 2026 allowing Division I schools to place commercial sponsor logo patches on uniforms, equipment, and apparel starting August 1, 2026. That single policy shift opened the door for deals like Notre Dame’s arrangement with SoFi and Ohio State’s with JPMorgan Chase, both reported as multi-million-dollar agreements tied to the sport’s revenue-sharing era. Professional baseball set its own precedent earlier: MLB teams have sold sleeve patches since the league’s collective bargaining terms opened that door, giving other leagues a working model to point to when negotiating their own sponsorship rules.
Youth and amateur leagues tend to be far more conservative, and many still bar commercial branding entirely or cap patch size well below what college and pro programs allow. Local governing bodies, school athletic departments, and tournament organizers each maintain their own uniform code, so a patch approved for a varsity program might be denied outright at a regional youth tournament under a different sanctioning body.
Before you order a single patch, run through this checklist:
- Get written confirmation from your league or conference that sponsor patches are permitted at your competition level.
- Submit a mockup for approval, not just a description, since size and placement disputes almost always trace back to a vague verbal agreement.
- Confirm sign-off from whoever manages broadcast standards or kit compliance, especially for televised or livestreamed games.
- Check your sponsorship contract and team insurance policy for clauses about logo exclusivity, competing brand conflicts, or liability tied to on-uniform advertising.
Trade coverage on the broader trend, including Marketing Brew’s reporting on leagues embracing sponsored jersey patches, is worth a read if you’re building the case for why your organization should adopt a formal patch policy in the first place.
What Patch Material Should You Choose?
Material choice comes down to what the logo looks like and how much abuse the jersey takes. Six options cover almost every scenario a team manager will face:
- Embroidered: raised thread stitching that gives crests and logos texture and a premium look; the standard choice for team and league marks.
- Woven: flat, tightly woven thread that renders fine text and detailed lockups far more sharply than embroidery can manage.
- PVC (rubber): molded, 3D, and highly water resistant, popular for tactical-style team gear and accessories rather than game jerseys.
- Printed heat-seal: full-color, photorealistic reproduction at a lower cost, though less durable through repeated wash cycles than stitched options.
- Chenille: bulky, plush lettering associated with varsity jackets, rarely used on performance jerseys.
- Leather-look: a stylistic accent patch, mostly reserved for outerwear and team merchandise rather than competition uniforms.
The rule of thumb: woven patches beat embroidery whenever the artwork has small text or a multi-element lockup, since embroidery struggles to render fine detail cleanly and thread thickness blurs tight letterforms. Embroidery wins for simple crests, single-color logos, and anything meant to project a traditional, stitched look on the jersey itself.
Backing matters as much as the face material. Twill backing works well on cotton and heavier fabrics, while a lighter, laser-cut border suits performance mesh and moisture-wicking jerseys where a stiff backing would crack or peel. Always tell your supplier what fabric the patch is going onto, since mesh and technical fabrics sometimes need reduced stitch density to avoid puckering or pulling the weave.
Pro Tip: If your sponsor’s logo includes small type under half an inch tall, ask your supplier for a woven sample before committing to embroidery. A five-minute proof saves you from ordering fifty patches with an unreadable name.
How Do You Attach Sponsor Patches to a Jersey?
Attachment method depends on whether the patch is permanent or needs to come off between seasons, sponsors, or tournaments. Each method has a different workflow, and rushing any of them is how patches end up crooked, peeling, or torn mid game.
Sew-on patches, the most durable option for a season-long sponsor:
- Mark placement with tailor’s chalk or removable tape, checking it against the jersey while it’s on a body form or mannequin, not flat on a table.
- Baste the patch in place with a few loose stitches to confirm alignment before committing to final stitching.
- Machine or hand stitch around the full perimeter using a straight or zigzag stitch, reinforcing the corners where stress concentrates during pulling and stretching.
- Inspect both sides. A patch that puckers the base fabric on the inside will feel wrong to the wearer and eventually pull loose.
Heat-seal patches, faster but fabric dependent:
- Test on a scrap piece of the same jersey fabric first. Heat-seal backing bonds well to cotton and poly blends but can scorch or fail to adhere to certain performance mesh.
- Set the press to the manufacturer’s recommended temperature, usually in the 300 to 350 degree Fahrenheit range, and apply firm, even pressure for the specified dwell time.
- Let the patch cool fully before flexing the fabric. A patch handled too soon can shift or lift at the edges.
- Avoid heat-seal entirely on moisture-wicking synthetics that are heat-sensitive; sew-on is the safer call there.
Velcro (hook and loop) patches work best for teams that swap sponsors between seasons or need a patch for one tournament only. Sew the loop side securely to the jersey using a box stitch pattern around all four edges so it can’t peel under pull, then attach the hook-backed patch itself.
Adhesive-only patches are a short-term fix at best, useful for a single event or a same-day fix, but they should always get a line of stitching added afterward if the jersey will see repeated wear or washing.
Before kickoff or puck drop, kit managers should run a quick check: confirm every patch is flat with no lifted corners, tug gently at each edge to test bond strength, and check that no thread ends are frayed or loose enough to catch during play.
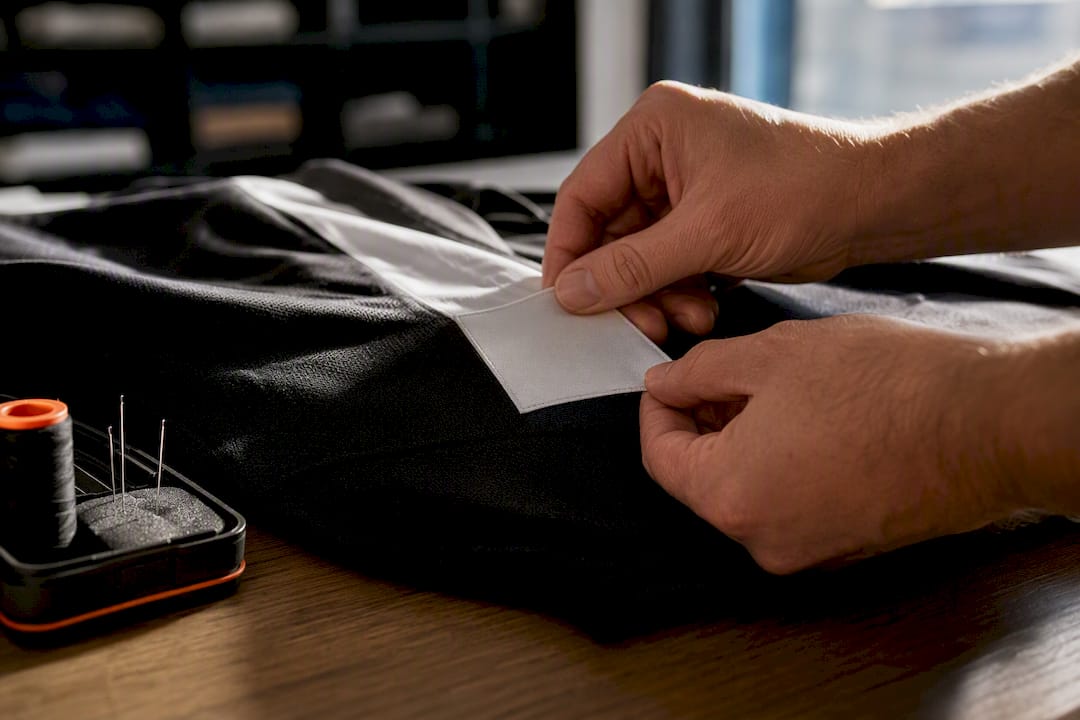
Pro Tip: Keep a small emergency kit, needle, matching thread, and a spare patch, in your equipment bag. A loose corner caught five minutes before warmups is a two-minute fix if you’re prepared and a scratched jersey if you’re not.
What File Specs Do Suppliers Need for Sponsor Logos?
Clean artwork is the difference between a patch that matches your sponsor’s brand guidelines and one that gets sent back for revision. Suppliers consistently point to the same handful of specs that prevent delays.
- Vector files first: AI, EPS, or PDF formats scale to any patch size without quality loss, and most manufacturers request vector artwork whenever possible to avoid digitizing errors.
- Raster as backup only: if vector isn’t available, supply a raster file at 300 to 600 DPI at the actual final print size, not scaled up from a smaller image.
- Color values, not screenshots: give Pantone numbers or hex codes rather than a photo of the logo on a screen, since embroidery thread colors are matched to a standardized thread chart, not RGB values.
- No gradients for embroidery: thread can’t blend colors the way a printer can, so gradient logos need to be simplified into solid color bands or shifted to a printed heat-seal treatment instead.
- Minimum type size: keep embroidered text no smaller than roughly a quarter inch tall; anything smaller should go woven or printed to stay legible.
- Always review a digitized stitch file or printed proof before full production runs, since a mockup on screen and the actual stitched result can differ in ways only a physical sample reveals.
A breakdown of getting your team logo onto custom apparel covers file troubleshooting in more depth if your sponsor’s marketing team sends over a logo that doesn’t meet these specs on the first try.
How Much Do Sponsor Patches Cost and How Long Do They Take?
Budget and timeline questions come up early in every sponsorship conversation, and the honest answer is that both swing widely based on a handful of variables.
Standard production commonly runs 7 to 10 business days after artwork approval, with rush service available from most suppliers for an added fee when a season opener or tournament deadline is tight. That clock starts only after the mockup is signed off, not after the first draft is submitted, so build the approval step into your timeline rather than assuming production starts the day you send a logo.
Pricing moves on a few clear levers:
- Quantity: larger runs bring the per-piece price down significantly, since setup costs (digitizing, screen or die creation) get spread across more units.
- Size and detail: bigger patches and complex multi-color lockups cost more than a simple single-color crest.
- Backing type: iron-on and Velcro backing add a small per-unit cost over a basic sew-on edge.
- Artwork complexity: a logo that needs redrawing or color correction before production adds setup time and sometimes a design fee.
Small teams facing minimum order requirements have a few real options: pool an order across multiple age groups in the same club, choose a simpler single-color design that’s cheaper to digitize, or ask your supplier directly whether they offer low-minimum runs for youth and amateur programs. When requesting quotes, ask suppliers to separate the one-time setup or digitizing fee from the per-piece production cost. That breakdown makes it much easier to compare two supplier quotes that structure pricing differently.
How Do You Maintain Sponsor Patches Over a Season?
A patch that looked sharp on opening day can look ragged by playoffs if nobody’s checking on it. Maintenance is simple, but it only works if someone actually owns the task.
Washing guidance depends on backing type. Sew-on patches generally tolerate standard machine washing on a normal cycle, though cold water and a gentle cycle extend the stitching’s life. Heat-seal patches should be washed inside out and air dried or tumble dried on low, since high heat in a dryer can soften the adhesive backing and cause peeling at the edges over repeated cycles.
When a patch starts to lift, the fix depends on how far gone it is. A single loose corner on a sew-on patch is a five-minute repair with matching thread. A heat-seal patch that’s peeled across a full edge usually needs a fresh application rather than a partial re-press, since the original adhesive layer degrades once it’s disturbed.
Keep your master artwork files, Pantone values, and supplier order specs stored somewhere the whole coaching staff can access, not on one person’s laptop. Reordering a mid-season replacement patch is far faster when someone can pull the exact file used the first time instead of starting the approval process over.
- Check all four corners and the stitch line after every wash cycle, not just before games.
- Look for thread fraying at stress points, especially near seams and underarm areas.
- Confirm color hasn’t faded or shifted after repeated washing, particularly on printed heat-seal patches.
- Flag any patch showing lift or separation for repair before the next game, not after.
RNK Apparel’s Role in Sponsor Patch Production
This logo placement guidance is specific to hockey team apparel rather than general advice borrowed from another sport. Custom crests, sponsor marks, and player identification all run through the same artwork and production process on jerseys, hoodies, and team gear.
- Mockup review before production starts, so coaches and apparel coordinators see exactly how a sponsor patch will sit on the actual garment before committing to a full order.
- Support for low-minimum team orders, useful for youth programs and smaller clubs that don’t need bulk pro-league quantities.
- Guidance on artwork prep, matching supplied logos against production requirements before digitizing begins.
For teams working through placement decisions, a guide on designing youth hockey team gear covers durability considerations specific to younger athletes and heavier wear cycles, while the logo placement branding guide walks through sizing ratios in more detail than covered here.
A Kit Manager’s Rollout Checklist
Every smooth patch rollout I’ve seen follows roughly the same order: written league approval first, a physical mockup on the actual jersey second, and a locked-in production timeline third. Skip any of those and you’re troubleshooting during game week instead of planning during the off-season.
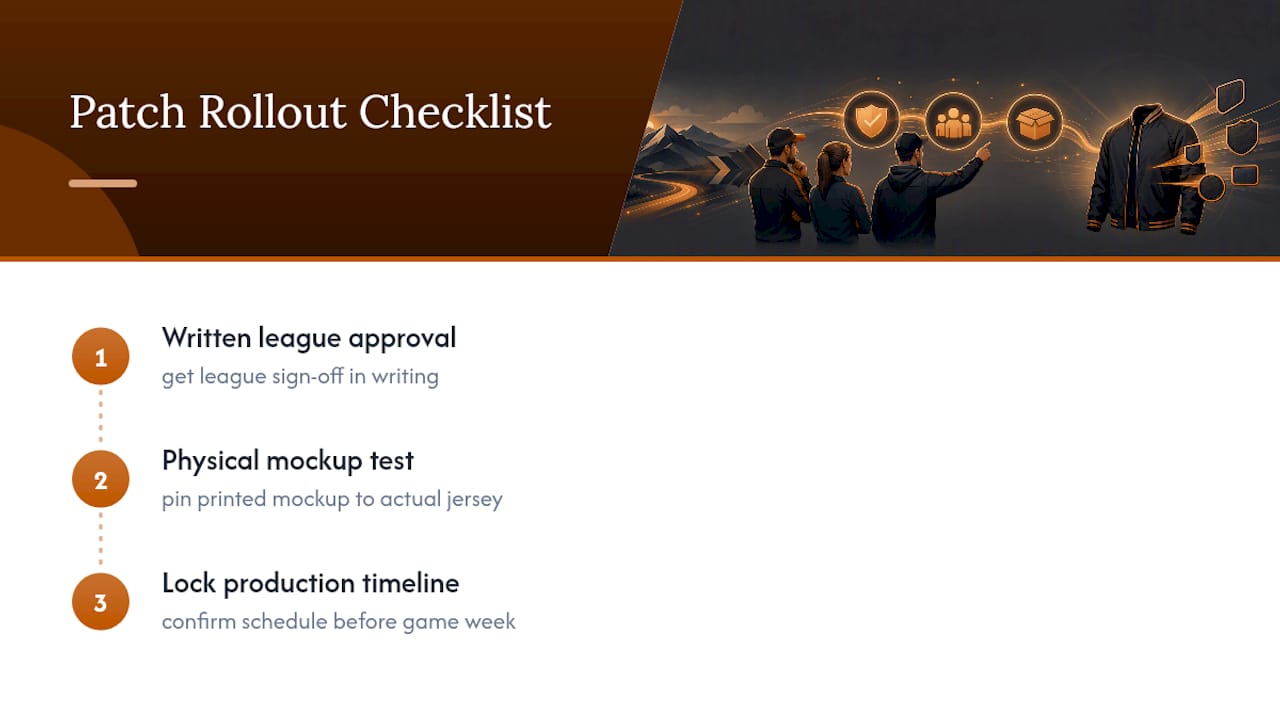
The mockup step gets skipped more than any other, usually because a digital rendering looks close enough on screen. It isn’t. Fabric drapes differently than a flat image, and a patch that looks centered in a design file can sit visibly off on a curved shoulder seam. Pin a printed mockup to an actual jersey before signing off.
Keep a written record of every approval, league sign-off, sponsor sign-off, and supplier proof, in one shared file. When a question comes up mid-season about who approved what, that record settles it in seconds instead of an email chain.
— Eric
Ready to Add Sponsor Patches to Your Team’s Jerseys?
A specialized custom hockey apparel provider can give you a faster path to a finished uniform than piecing together a separate patch supplier, a separate embroiderer, and a separate jersey order. Sponsor logo placement can be built into the same order as your team jerseys, hoodies, and accessories, avoiding juggling multiple vendors to get one finished uniform.
Before reaching out, have three things ready: your sponsor’s vector logo file (or the best version you’ve got), your league’s written approval for sponsor branding, and a rough idea of quantity across your roster. From there, you can get guidance through mockup options and placement on your actual garment style, whether that’s a full jersey run or an accessory add-on for your hockey accessories order. Browse the hockey t-shirt collection to see current garment options, and start a custom quote for your team’s next order.
Sources
- Notre Dame and Ohio State to add sponsor jersey patches in revenue-sharing era | AP News
- Custom Sports Patches — 7-10 Days & Free Shipping
- The Ultimate Guide To MLB Jersey Patch Sponsors
