Uploading a team logo for custom apparel means preparing your logo file in the correct format and resolution, then using an online design tool to place it on your chosen garments with accurate sizing and proofing. Coaches, managers, and parents ordering custom hockey gear for their teams face the same core challenge: getting a logo that looks sharp on a hoodie or t-shirt, not just on a screen. Platforms like STAHLS’ Team Builder and Printful Design Maker have made the process far more accessible, but file preparation still determines whether your logo prints cleanly or comes out blurry. This guide covers every step, from file specs to final proof approval.
What file formats does uploading a team logo for custom apparel require?
The file format you upload is the single biggest factor in print quality. Vector files such as AI, EPS, and SVG scale to any size without losing quality. That makes them the preferred format for every apparel decorator working with team logos.
Raster files like PNG and JPG can work, but only under strict conditions. The minimum resolution for raster logos is 300 DPI at the actual intended print size. Anything below that threshold will look soft or pixelated on fabric. PNG is generally the better raster choice because it supports transparent backgrounds, which prevents white boxes from appearing around your logo on colored garments.
![]()
The most common mistake coaches make is grabbing a logo directly from the team website. Web graphics are typically 72 DPI, which looks fine on a monitor but prints fuzzy on apparel. That screenshot of your team crest will not survive the jump from screen to fabric.
Color format matters just as much as resolution. Provide Pantone color references alongside your logo file. Decorators cannot reliably match colors from RGB or hex values alone, and a slight shift in your team’s red or blue can look wrong on the finished garment.
- Preferred formats: AI, EPS, SVG (vector)
- Acceptable raster formats: PNG (transparent background), JPG (solid background only)
- Minimum raster resolution: 300 DPI at print size
- Color references: Pantone codes for all logo colors
- File size: Most platforms cap uploads at 2MB for PNG and JPG files
Pro Tip: If your logo includes custom lettering, ask your graphic designer to “outline” the fonts before saving the file. This converts text to shapes, so the decorator does not need to own the same font to reproduce your logo correctly.
How do you upload your team logo on custom apparel platforms?
The upload process follows a consistent pattern across most platforms, though the interface details vary. STAHLS’ Team Builder is one of the most widely used tools for team orders because it applies your uploaded artwork across an entire roster instantly, with live previews updating in real time.
Here is the standard process for uploading a team logo on a custom apparel platform:
- Create an account or start a new project. Most platforms, including Printful Design Maker, require you to select the garment type first. Choose your product (hoodie, t-shirt, hat) before uploading.
- Upload your logo file. Look for an “Upload Artwork” or “Add Logo” button in the design interface. Select your vector or high-resolution PNG file from your device.
- Position and resize the logo. Use the on-screen handles to drag the logo to the correct placement zone, such as the left chest, center chest, or back. Most tools show a scaled preview of how the logo will appear on the actual garment.
- Apply the logo across your roster. In roster-based tools like STAHLS’ Team Builder, one upload populates the design across all team members’ items automatically. This eliminates manual entry errors and saves significant time on large orders.
- Review the digital proof. Most platforms generate an automatic proof showing your logo at scale on the garment. Check placement, color, and sizing carefully before moving forward.
- Confirm and submit. Once you approve the proof, lock in your order. Some platforms send a PDF proof via email for a final sign-off.
File size restrictions apply on most platforms. PNG and JPG uploads are typically capped at 2MB. If your file exceeds that limit, compress it using a tool like Adobe Photoshop or an online compressor, but never reduce the DPI below 300 in the process.
Pro Tip: Always proof on the actual garment color you ordered. A logo that looks great on a white background preview can lose contrast on a dark navy or black hoodie.
Screen printing vs. embroidery vs. DTG: which method affects your upload?
The decoration method you choose changes what your logo file needs to look like. Each method has different artwork requirements, and submitting the wrong file type for the wrong method causes delays and reprints.
| Decoration method | Best file format | Color limits | Detail level | Best for |
|---|---|---|---|---|
| Screen printing | Vector (AI, EPS) | Spot colors only | Medium | Bold logos, solid fills |
| Embroidery | Vector or simplified PNG | Limited by thread count | Low | Simple logos, text |
| Direct-to-garment (DTG) | High-res PNG (300 DPI+) | Full color | High | Complex, photographic logos |

Screen printing requires spot colors, meaning each color in your logo is printed as a separate layer. A logo with six colors requires six screens, which increases cost. Simplifying your logo to three or four Pantone spot colors before uploading keeps production costs manageable for team orders.
Embroidery is the most durable decoration method, but it has real limitations for detailed artwork. Fine lines, gradients, and small text do not translate well to thread. Embroidery works best with simplified logos that have clear, bold shapes. If your team crest has intricate detail, ask the decorator for a digitized embroidery preview before approving.
Direct-to-garment printing accepts the most complex artwork and prints full-color images directly onto fabric. It works best on light-colored garments and requires a high-resolution PNG with a transparent background. DTG is a strong choice for youth hockey t-shirts with detailed logo designs.
Pro Tip: If you plan to order both hats and hoodies, check which decoration method each garment supports. Hats almost always use embroidery, while hoodies can use screen printing or DTG. You may need two slightly different logo files.
Best practices for coordinating logo uploads across a full team order
Managing logo uploads for an entire hockey team is a coordination task, not just a design task. The more organized your files and instructions are before you contact a decorator, the faster your order moves through production.
- Name your files clearly. Use a format like “TeamName_Logo_Vector_2026.ai” rather than “logo_final_v3_REAL.ai.” Clear file names prevent version confusion when you are managing multiple garment types.
- Keep one master logo folder. Store your vector file, high-resolution PNG, and Pantone color references in a single shared folder. Share that folder link with your decorator instead of emailing attachments.
- Write a design brief. A good brief covers logo placement (left chest, center back), print size in inches, Pantone color codes, garment colors, and your order deadline. A detailed brief prevents the most common delays in custom apparel production.
- Use roster tools for bulk orders. Platforms like STAHLS’ Team Builder apply one logo across all roster entries automatically. This approach removes the risk of a player’s jersey getting the wrong logo version.
- Consolidate feedback before responding to proofs. Collect all comments from coaches, parents, and team managers into one message before replying to the decorator. Most suppliers allow only 2–3 rounds of proof revisions before charging extra fees.
For youth hockey teams, the logo placement guide from Rnkapparel covers standard positioning for jerseys and training gear, which is a useful reference when writing your brief. Getting placement right the first time avoids the most expensive type of revision: a reprint.
Key Takeaways
Uploading a team logo for custom apparel requires a vector file or a 300 DPI raster image, accurate Pantone color references, and a clear design brief submitted before the first proof.
| Point | Details |
|---|---|
| Use vector files first | AI, EPS, and SVG files scale without quality loss and are preferred by all decorators. |
| Match resolution to print size | Raster logos must be at least 300 DPI at the intended print dimensions. |
| Provide Pantone color codes | Hex and RGB values alone cause color mismatches on finished garments. |
| Match file type to decoration method | Screen printing needs spot colors; DTG needs high-res PNG; embroidery needs simplified artwork. |
| Consolidate team feedback early | Most suppliers allow only 2–3 proof revisions before charging additional fees. |
What I have learned from watching teams get this wrong
The most common logo upload mistake is not a technical one. It is a timing one. Coaches wait until two weeks before the season starts to place their order, then discover their only logo file is a 72 DPI JPEG pulled from the team’s Facebook page. At that point, there is no time to get a proper vector file from the original designer, and the team ends up with blurry crests on their hoodies.
The fix is simple but requires planning. Get your vector logo file in january or february, well before the season ramps up. Ask your team’s graphic designer or league administrator for the original source file, not a web export. If the team has never had a proper vector logo, platforms like Adobe Illustrator or a freelance designer on Upwork can convert a clean PNG to vector for a modest fee.
The second mistake I see consistently is vague placement instructions. “Put the logo on the front” is not a brief. A decorator needs to know: left chest or center chest, how many inches wide, at what height from the collar. The youth hockey gear guide from Rnkapparel is one of the clearest references I have seen for coaches who are not familiar with standard jersey placement conventions.
The third mistake is splitting feedback across five different email threads. One parent emails about the logo color, another texts about the font, and the coach calls about the size. The decorator gets contradictory instructions and the proof cycle drags on. Assign one person to collect all feedback and send a single consolidated response. That one habit alone cuts production time significantly.
— Eric
Rnkapparel makes custom hockey logo orders straightforward
Rnkapparel is built specifically for hockey teams in the United States and Canada, with an upload process designed for coaches and managers who are not graphic designers.
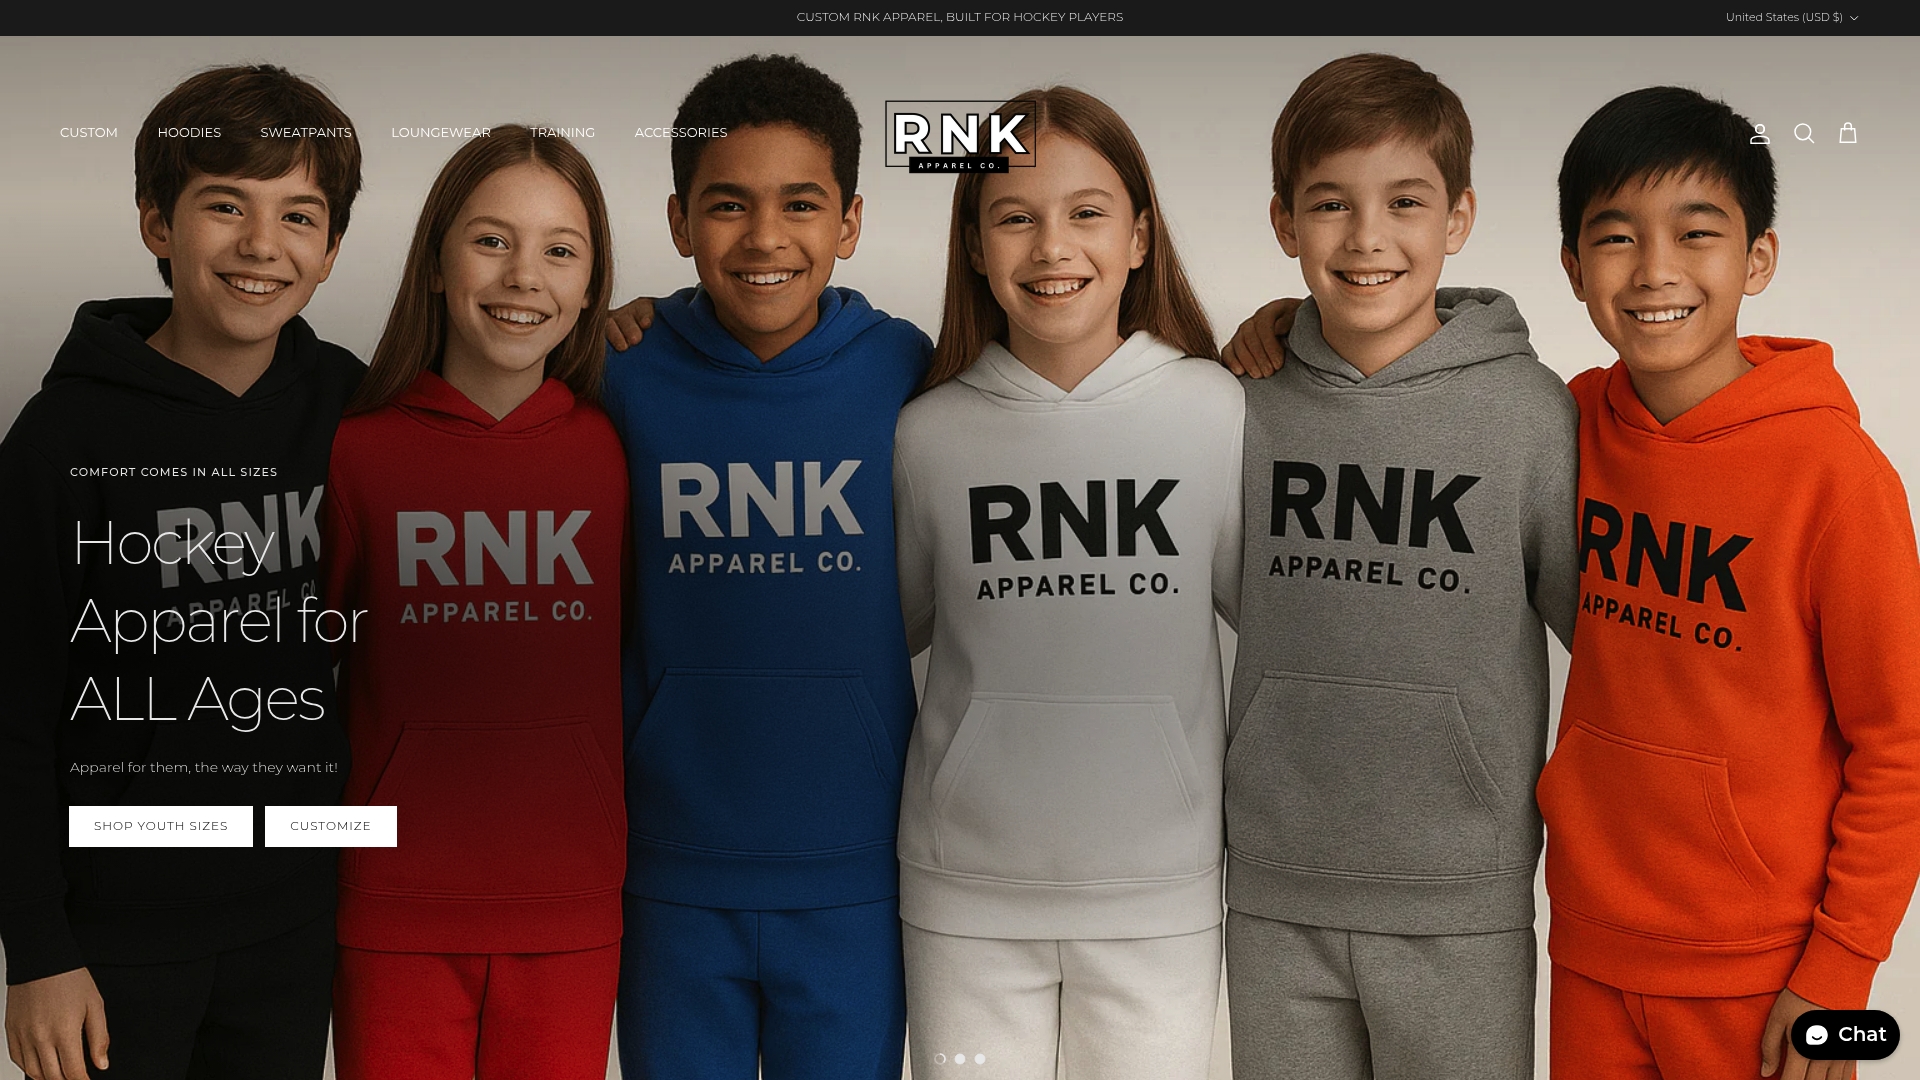
You can upload your team logo directly to products like custom hockey t-shirts, hoodies, long sleeve tees, and team hats, with proofing built into the order flow so you see exactly how your logo will look before anything goes to print. Rnkapparel supports youth team orders with options for player names and numbers alongside your logo, keeping the entire uniform consistent from player one to player twenty. If you are ordering for a full roster, the team ordering process at Rnkapparel is structured to handle bulk customization without the back-and-forth that slows down most apparel orders.
FAQ
What is the best file format for uploading a team logo?
Vector files such as AI, EPS, or SVG are the best formats for uploading a team logo to custom apparel platforms. If a vector file is not available, use a PNG saved at 300 DPI or higher at the intended print size.
Can I upload a logo I downloaded from my team’s website?
Web logos are typically saved at 72 DPI, which is too low for clean apparel printing and will produce a blurry result. Always use the original source file from your graphic designer or league administrator.
How do I apply one logo to an entire team order?
Roster-based tools like STAHLS’ Team Builder apply a single uploaded logo across all team members’ items automatically, with live previews and auto-proofing to catch errors before production.
What color format should I provide with my logo?
Provide Pantone spot color codes alongside your logo file. RGB and hex values can shift during the printing process, and Pantone references give decorators the most accurate color target.
How many proof revisions do custom apparel suppliers allow?
Most suppliers allow 2–3 rounds of proof revisions before charging additional fees, so consolidating all team feedback into one message before each response is the most efficient approach.
