
Send a clean vector file, either .AI, .EPS, .SVG, or a vector PDF, and expect a digitizing step before anything hits fabric. Vector alone won’t stitch. A digitizer has to translate those paths into a machine-readable stitch file like .DST or .PES, assigning stitch type, density, and sew order. If you only have a raster logo, a high-resolution PNG at 300 DPI or higher works as a fallback, but plan on a redraw or digitizing fee.
TL;DR:
- Vector files like AI, EPS, SVG, or vector PDFs are essential because they provide scalable, clean paths that digitizers can easily convert into stitch files.
- Raster images, such as high-resolution PNG or JPG, are only a last resort and require manual redraws, with quality improving if the image is sharp and large.
- Proper file preparation involves outlining all text, removing micro-details, fixing size and placement, simplifying colors, and flattening gradients to ensure smooth stitching results.
- Digitizing transforms artwork into stitch files like DST or PES, with different stitch types chosen based on design elements, and file format compatibility depends on the embroidery machine.
- A clear handoff package should include source files, size and placement details, color references, and a proof or stitch-out sample to minimize delays and rework.
Table of Contents
- Which File Types Actually Work for Embroidery
- Preparing Vector Artwork for Embroidery: A Step-by-Step Preflight
- Digitizing Explained and Common Stitch File Formats
- How to Hand Off Your Files (and What to Ask For in Return)
- Common Mistakes That Cause Rework (and a Quick Checklist)
- The RNK Apparel Perspective on Team Embroidery Orders
- How RNK Apparel Handles Your Embroidered Team Order
- Sources
Which File Types Actually Work for Embroidery
Vector files win because they hold clean, scalable paths with no pixelation, no matter how large or small the final logo needs to be. That’s why vector formats stay the preferred input for embroidery digitizing, and why most embroidery shops list them first on their submission requirements.
Here’s how the common formats stack up:
- .AI (Adobe Illustrator): the industry default. Preserves layers, paths, and text objects cleanly, which makes digitizing faster and more accurate.
- .EPS: an older but still widely supported vector format, functionally similar to .AI for embroidery purposes.
- .SVG: increasingly accepted, especially by web-based digitizing tools, but confirm compatibility first since some legacy embroidery software still favors AI or EPS.
- Vector PDF: fine if the PDF was exported directly from vector artwork rather than flattened from a raster image.
- High-res PNG or JPG (300 DPI+): a last resort. Usable, but expect a manual redraw, since raster edges get blurry or jagged once a digitizer tries to trace them into stitch paths.
If a raster file is genuinely your only option, send the largest, sharpest version available. A digitizer working from a crisp 2,000-pixel-wide PNG will produce a far better stitch file than one working from a compressed social media export.
Preparing Vector Artwork for Embroidery: A Step-by-Step Preflight
A logo that looks perfect on screen can still stitch poorly if the file isn’t prepped for thread instead of pixels. Embroidery has physical limits that vector software doesn’t enforce automatically, so the cleanup happens on your end before the file ever reaches a digitizer.
- Outline all text. Convert fonts to paths so nothing reflows or substitutes if the digitizer’s software doesn’t have your exact typeface installed. Keep a separate editable copy with live text for your own records.
- Strip out anything under roughly 1 millimeter. Hairline strokes and micro-detail simply won’t hold up in thread. Either thicken thin paths or remove them entirely.
- Lock in your finished size and placement. A logo shrinking from a 10-inch back print to a 3-inch chest logo needs different stroke weights and detail levels. Decide the final scale before prep, not after.
- Cut your color count. For a small chest-size logo, aim for four to six visible colors. More than that and details blur together once stitched at scale.
- Flatten gradients into solid colors. Embroidery machines stitch in flat thread colors, not blends, so any gradient needs to become a defined solid or a stitched shading effect a digitizer builds manually.
- Export a clean package. Send either a layered vector file or a flattened vector copy, whichever your digitizer prefers, along with any Pantone or thread color references you already know.
Following a shop-style preflight like this before submission cuts down on back-and-forth revisions and avoids the redraw charges that come with messy source files.
Pro Tip: Zoom your logo out to the actual finished size on screen, then squint at it. If details disappear or blur together at that zoom level, they’ll disappear in thread too.
Digitizing Explained and Common Stitch File Formats
Vector artwork tells a printer where ink goes. It doesn’t tell an embroidery machine anything, because a vector alone lacks the stitch instructions the machine actually reads. That’s what digitizing solves: it’s the process of converting your artwork into a stitch file that defines stitch type, density, direction, and sew order for every section of the design.
A skilled digitizer isn’t just tracing shapes. Different elements call for different stitch types to hold up correctly: satin stitch handles most text and thin borders, fill or tatami stitch covers larger solid areas, and running stitch handles fine linework. As a rule of thumb, longer satin stitch runs usually get swapped for fill stitches instead, since long satin runs tend to snag or pucker.
Once digitized, your file gets exported into whatever format the embroidery machine actually reads:
- .DST — Tajima format, the closest thing to a universal standard across commercial shops.
- .PES — used by Brother machines, common in home and small-shop setups.
- .JEF — Janome’s proprietary format.
- .EXP — used by Melco machines.
Machine ecosystems vary by manufacturer, so a shop will always ask which format matches their equipment rather than accepting a generic stitch file. Even if you already have a .DST from a previous run, don’t assume it’s plug-and-play elsewhere. Thread weight, stabilizer choice, and machine tension all factor into how that file actually sews, so a stitch file built for one shop’s setup may need adjustment on another’s.
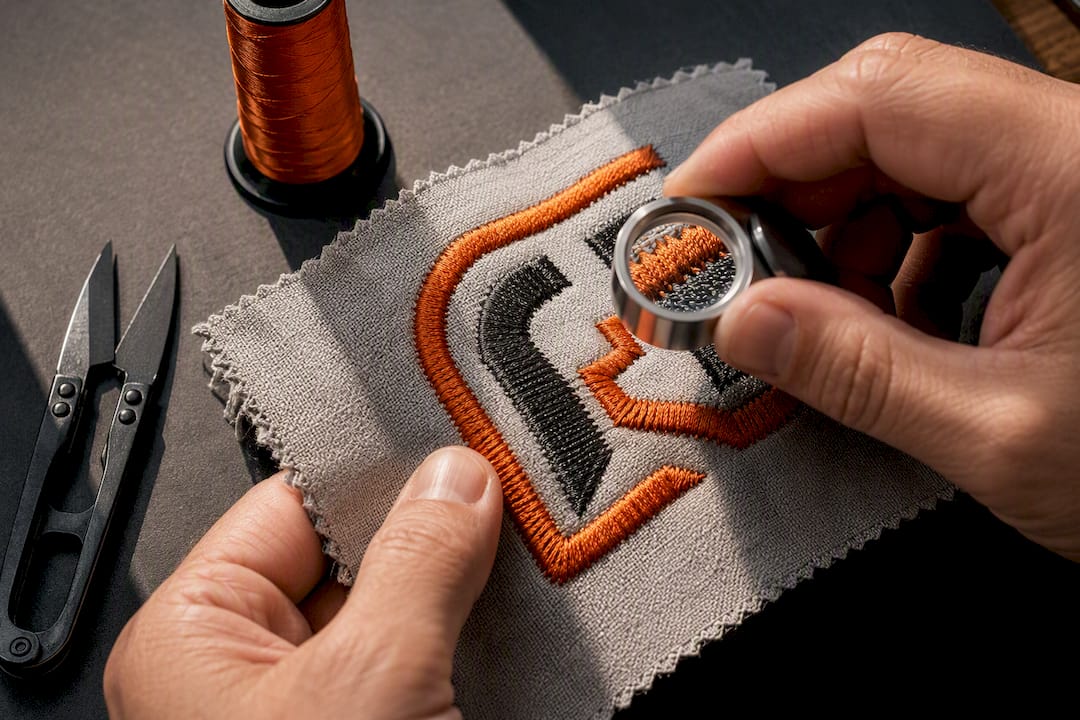
Some newer platforms now offer automated digitizing straight from an uploaded vector or PNG, producing a stitch file and preview in minutes. These tools genuinely speed up simple logos, but fabric texture, stabilizer, and machine calibration still shift the outcome, which is exactly why a physical stitch-out still matters before a full production run.
How to Hand Off Your Files (and What to Ask For in Return)
A clean handoff package saves you a round of email delays. Send your digitizer:
- The source vector file (.AI, .EPS, .SVG, or vector PDF).
- Intended finished size and exact placement, whether that’s a chest logo, a sleeve mark, or full back coverage.
- Thread or Pantone references, if exact color matching matters for your team’s brand.
- Any design elements that are absolutely non-negotiable, like specific letter spacing or a logo mark that can’t be simplified further.
In return, expect two things back. First, a digital proof showing placement and color matching before anything gets stitched. Second, for a first-time run or a design with fine detail, ask for a physical stitch-out sample. A proof shows you the layout; a stitch-out shows you how the thread actually behaves on real fabric.
Costs typically scale with color count, stitch count, and whether a redraw is needed from raster source art. Ask upfront for estimated turnaround and whether a sample stitch-out is included or billed separately, since that varies shop to shop.
Common Mistakes That Cause Rework (and a Quick Checklist)
Most delays trace back to the same handful of issues. Run through this before you submit anything:
- Unoutlined text. If fonts aren’t converted to paths, the digitizer’s software may substitute a different typeface, changing your logo’s look without warning.
- Detail that’s too fine for the final size. Gradients, hairline strokes, and tiny text all cause trouble. Consolidate small elements into solid shapes or cut them if they won’t survive at stitch scale.
- Skipping the size preview. Always look at your logo at its actual finished dimensions, not zoomed in on a monitor, before approving anything for production.
Pro Tip: When in doubt about legibility, request a mockup or stitch-out sample rather than guessing. It costs a little time upfront and saves a full reorder later.
The RNK Apparel Perspective on Team Embroidery Orders
We built RNK Apparel Co. around one recurring problem: teams show up with logo files in every format imaginable, and most of them aren’t embroidery-ready. Our platform lets teams and individual athletes upload logos, add player names and numbers, and choose garment types and colors across hoodies, tees, joggers, and hats.
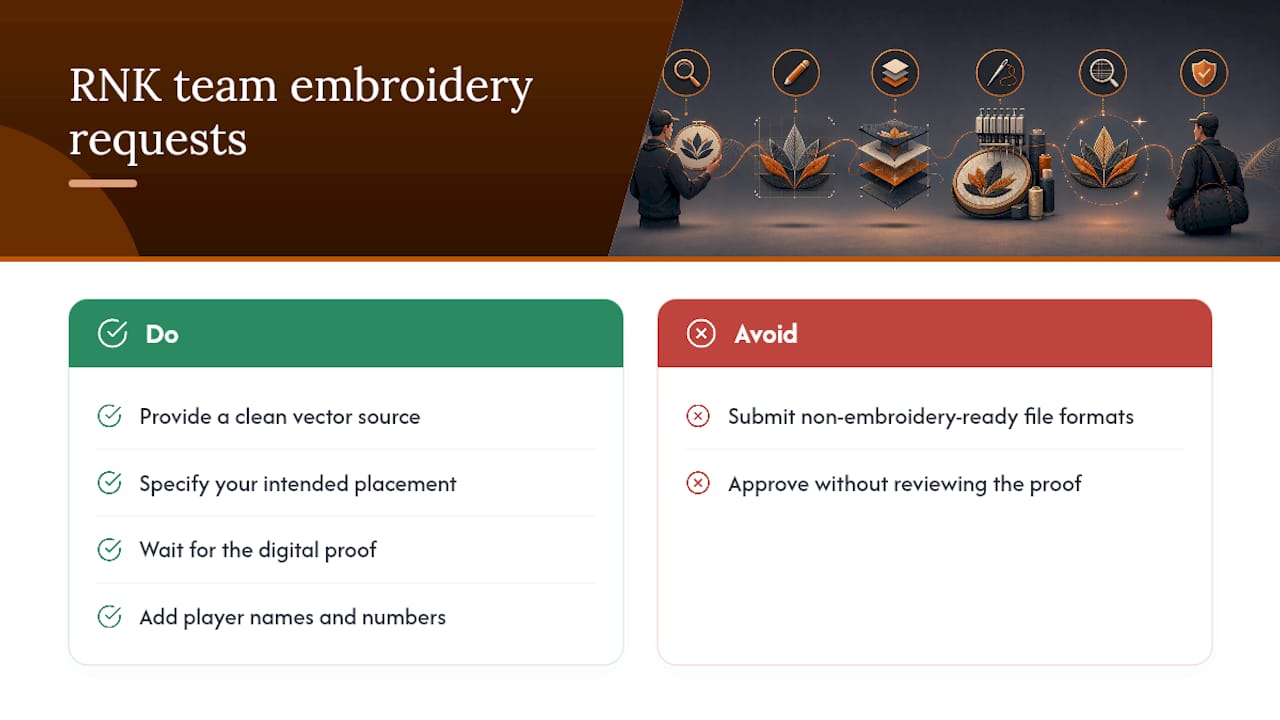
What we ask for hasn’t changed in years: a clean vector source, your intended placement, and patience for a digital proof before production starts. That step alone catches the vast majority of issues before a needle ever touches fabric.
— Eric
How RNK Apparel Handles Your Embroidered Team Order
Once your logo is prepped and vector-ready, the fastest next step is simple: upload it and request a digital proof before committing to a full order. That one step catches sizing, color, and placement issues before anything gets stitched onto real garments.
RNK Apparel builds custom hockey apparel around exactly this workflow, letting coaches, parents, and individual players order embroidered team shirts without guessing whether their file will hold up in thread. Need caps or accessories instead? Browse custom hockey accessories built for embroidered logos at chest and cap scale. If your team logo also needs to translate onto broader apparel design, our partners at Plaid Gorilla Golf cover visual identity considerations worth reading alongside this guide.
Upload your artwork, tell us your size and placement, and we’ll send a proof back before a single stitch goes down.
Sources
- How to Prepare Your Logo for Embroidery – Arklavo
- How to Digitize a Logo for Embroidery — Step-by-Step Guide | AA Creative Emb
- What Are The Embroidery File Formats? — Janome
- Stitchpilot
