
When you place a custom team apparel order, the vendor moves immediately through a defined sequence: order intake, design mockup, sizing verification, production, quality control, and shipment. Skip a physical sample and the whole process typically runs a few weeks from deposit to delivery. Add a sample round and budget a longer timeframe.
Three organizer decisions control most of that timeline:
- Design lock: Your artwork files must be finalized and approved before production can start. Every day of revision adds a day of delay.
- Accurate sizing: An incomplete or corrected roster after production begins means partial re-runs and missed ship dates.
- Deposit payment: Most vendors won’t touch the production floor until the deposit clears.
Where you must act fast: Mockup approval (within 24–48 hours of receipt), roster submission (before deposit), and proof sign-off (one round, not three).
Table of Contents
- How are team apparel orders processed, step by step?
- What are realistic lead times for each stage?
- How do you collect accurate sizes and decide how many to order?
- What artwork files and proof approvals does your vendor need?
- How do decoration methods affect quality, durability, and lead times?
- How does shipping and fulfillment work for bulk team orders?
- What can you do to speed up the process and avoid delays?
- How Rnkapparel handles a real team order end-to-end
- Your ready-to-copy checklist and sample schedules
- Key Takeaways
- The part most coaches underestimate
- Ready to place your team order with Rnkapparel?
- Useful sources and further reading
How are team apparel orders processed, step by step?
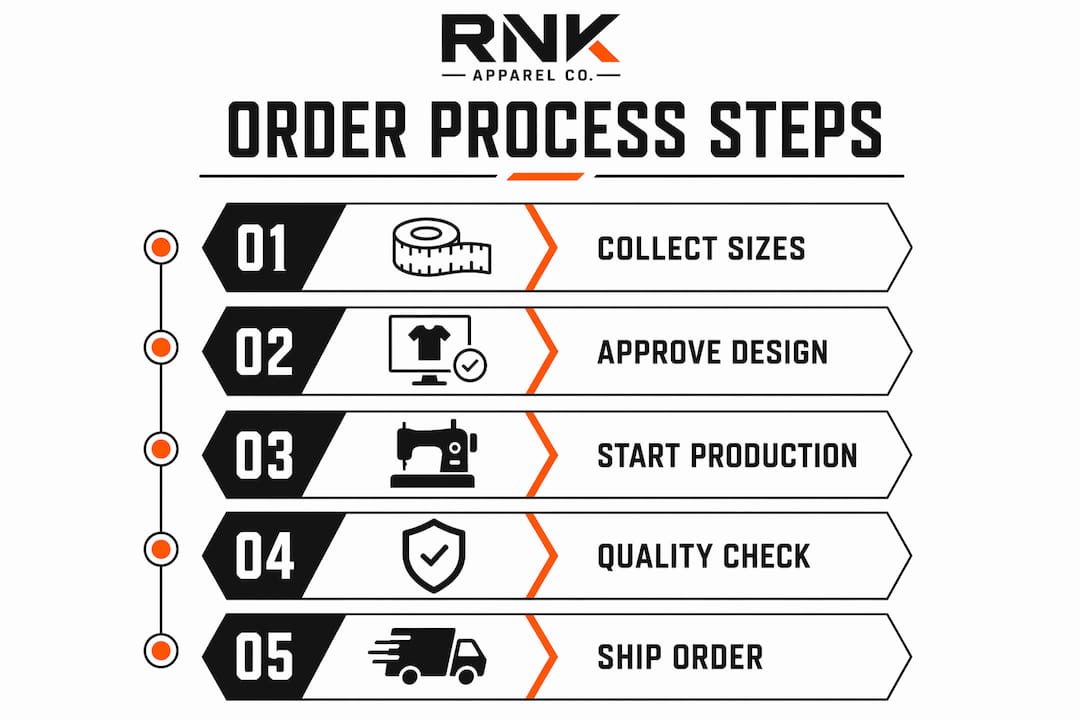
The team apparel order process follows a predictable sequence, but each step has a handoff point where delays typically happen. Here’s the full workflow, with responsibility callouts at each stage.
-
Request and quote (Coach/Manager owns this) — Submit your product type, quantity, decoration method, delivery date, and any sponsor or logo requirements. The vendor returns a quote, usually within 24–48 hours.
-
Design brief and artwork submission (Coach/Manager → Vendor design team) — Provide your vector logo files (AI, EPS, or SVG preferred), Pantone color references or hex codes, player names and numbers, and any sponsor artwork. The vendor’s design team builds the digital mockup from these inputs.
-
Digital mockup review and approval (Coach/Manager approves) — The vendor sends a proof, typically within 24 hours of receiving complete artwork. You review placement, colors, names, and numbers, then approve or request revisions. This is the most common delay point.
-
Optional physical sample (Coach/Manager decides; vendor produces) — For orders over 100 pieces or new fits, a paid physical sample adds 5–7 days but eliminates fit surprises. Most teams skip this for speed.
-
Roster and sizing collection (Coach/Manager owns this) — Submit a complete size roster before the deposit. Missing sizes after production starts cause partial re-runs. Use a digital form, a group order link, or a spreadsheet.
-
Deposit payment (Coach/Manager) — The standard split is 50% deposit to start production, 50% before shipping. Wire transfer, credit card, and PayPal are common options; repeat partners sometimes qualify for invoiced terms.
-
Production start (Vendor production team) — Once deposit clears and mockup is approved, the order enters the production queue. This is the longest single stage.
-
Multi-stage quality control (Vendor QC team) — Fabric inspection, print/stitch verification, name and number accuracy check, and a pre-ship inspection. The vendor should supply production photos on request.
-
Final payment and dispatch (Coach/Manager pays balance; vendor ships) — Balance due before the shipment leaves. Vendor provides tracking, commercial invoice, and packing list.
-
Receiving inspection (Coach/Manager) — Count quantities, verify sizes and names, check for visible defects, and document any issues with photos before signing off.
Key documents and inputs your vendor will ask for:
- Complete size roster (player name, size, number)
- Vector logo files with transparent backgrounds and outlined fonts
- Pantone color codes or approved hex references
- Sponsor artwork and written approval if required
- Delivery address and any split-shipment instructions
Decisions that change the flow:
- Requesting a physical sample adds a full sample-approval loop before bulk production.
- Sponsor logos requiring third-party sign-off can stall the mockup stage by days.
- Individual player names and numbers increase production complexity and QC time.
- Split shipments to multiple addresses require separate packing lists and may add fulfillment cost.
Online team stores let players buy and personalize individually, which reduces the manager’s roster-collection workload but pushes complexity into SKU-level inventory and dropship logistics. A spreadsheet-based process keeps billing consolidated and gives the manager full control, although it requires more administrative work upfront.
What are realistic lead times for each stage?
Lead times vary by order size, decoration method, and whether you request a physical sample. The table below gives representative ranges for standard and rush production, without specific numeric ranges.
How design complexity shifts the schedule:
- Sublimation (all-over print, full-color): longer setup, but once files are approved, production is fast. Best for jerseys and performance wear.
- Embroidery (raised thread): adds 1–3 days for digitizing the logo file before production can start. Great for hoodies and hats.
- Screen printing (multi-color): each color requires a separate screen setup. More colors mean more setup time and higher minimums.
- Heat transfer: fastest decoration method, minimal setup. Trade-off is lower durability compared to embroidery or sublimation.
Sample calendar: 3-week standard schedule (no physical sample)
- Day 1: Submit artwork, roster, and deposit
- Day 2: Mockup received from vendor
- Day 3: Mockup approved
- Days 4–13: Production (10 business days)
- Days 14–15: QC inspection
- Days 16–20: Domestic shipping
- Day 21: Delivery and receiving inspection
Sample calendar: 6-week conservative schedule (with physical sample)
- Week 1: Submit artwork, roster, deposit; receive mockup; approve mockup
- Week 2: Physical sample produced and shipped
- Week 3: Sample received, reviewed, approved; any fit revisions confirmed
- Weeks 4–5: Bulk production
- Week 5 (end): QC, final payment, dispatch
- Week 6: Delivery
Pro Tip: Build your approval cutoff 48 hours before the vendor’s stated production-start deadline. If you’re ordering for a season opener, count backward from game day and add a 3-day buffer for shipping surprises.
How do you collect accurate sizes and decide how many to order?
Getting sizes right the first time is where most team orders go sideways. A single wrong size on a 50-piece order can mean a costly partial re-run.
Measurement checklist and collection process:
- Send a digital form (Google Forms or a group order link) with the vendor’s size chart attached, not a generic one.
- Set a hard deadline for size submission, at least 5 days before your deposit date.
- For youth orders, always include both chest measurement and height, since youth sizing varies significantly by brand.
- Collect a second contact (parent email for youth teams) to chase down missing sizes.
When to order a physical sizing kit: Request one when you’re ordering a new product type you haven’t ordered before, when the team includes a wide range of body types, or when fit is critical (performance jerseys vs. casual hoodies). For standard youth hockey sweatshirts or tees where the team has ordered similar products before, digital size charts usually suffice.
Youth vs. adult fit considerations:
- Youth sizing runs smaller and less consistently across brands. Always size up one for youth players when in doubt.
- Adult unisex fits often run large. Women on co-ed teams frequently prefer a size down from their usual.
- Hoodies and sweatshirts have more fit tolerance than performance jerseys. Joggers and shorts need waist and inseam measurements, not just a size letter.
Extras calculation: A practical buffer is 5–10% extra for adult sizes and 10–15% extra for youth sizes, weighted toward the most common sizes on your roster. For a typical youth team order, this means adding several extras in the most common sizes to help prevent reorders, which almost always cost more per unit and take longer than the original run. This approach prevents reorders, which almost always cost more per unit and take longer than the original run.
Online team stores with individual purchase links solve the sizing problem differently: each player self-selects and pays, which eliminates the manager’s collection work but means you lose bulk pricing leverage and consolidated billing.
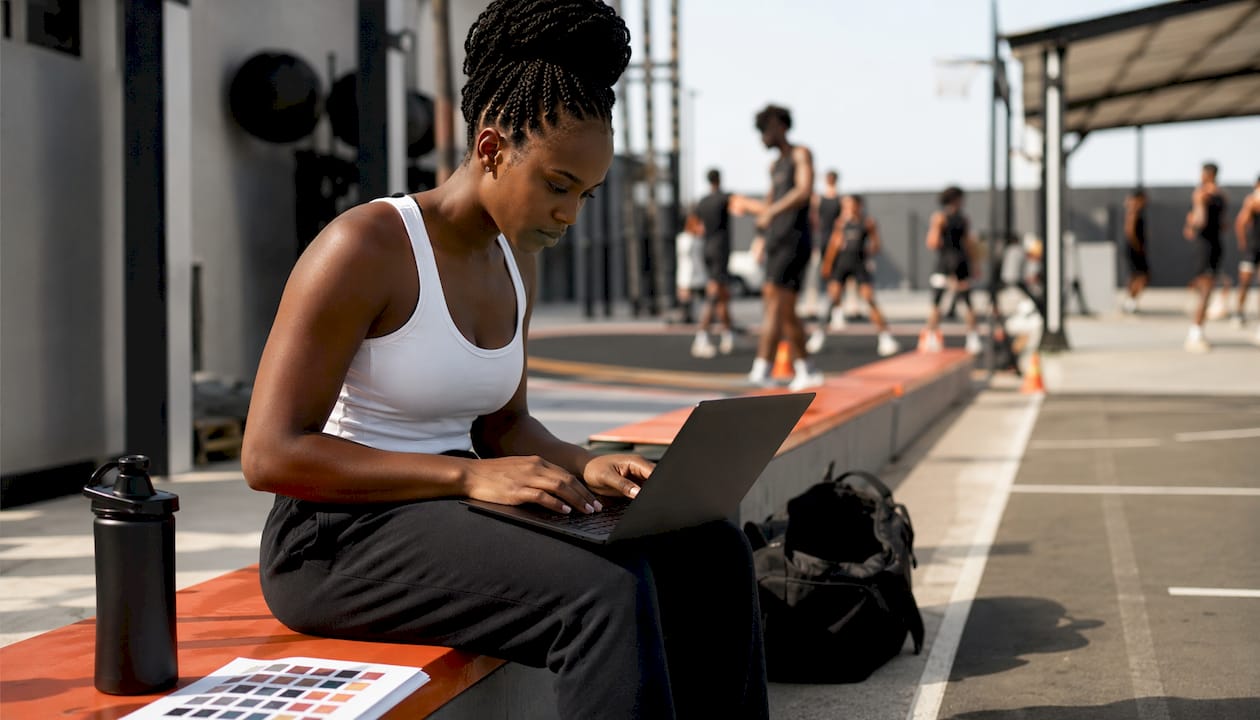
Pro Tip: For youth teams, ask parents to measure their child’s chest and height the week you send the form. Don’t rely on last year’s size. Kids grow fast, and a hoodie that fits in October won’t fit in March.
What artwork files and proof approvals does your vendor need?
Submitting the wrong file type is the single fastest way to add 2–3 days to your timeline before production even starts. Vendors can’t work from a JPEG pulled off a website.
File specification checklist:
- Preferred formats: Vector files (AI, EPS, SVG) with all fonts outlined and layers intact
- Acceptable raster formats: PNG or TIFF at minimum 300 DPI at print size; transparent background required
- Color references: Pantone Matching System (PMS) codes for any color that must match exactly; hex codes are acceptable for digital proofs but may shift in print
- Fonts: Outline all fonts before sending, or include the font files; vendors can’t guarantee font rendering otherwise
- Sponsor logos: Collect high-resolution vector files from sponsors directly; do not screenshot from a website
Getting your team logo onto custom apparel starts with the file. A clean vector file means the vendor can scale it to any size without quality loss.
How color matching works:
Pantone colors translate reliably to physical print. RGB and hex colors are screen-based and will shift when converted to ink or thread. If exact color matching matters (sponsor brand standards, league colors), specify PMS codes and request a color-match confirmation before production. For sublimation, colors are generally more vibrant and accurate than screen printing, but still request a printed proof for any first-time design.
Proof approval workflow:
- Vendor sends digital mockup (usually within 24 hours of receiving complete files)
- You review: placement, size, colors, names, numbers, spelling
- Request one round of revisions if needed; submit all changes in a single consolidated list
- Approve the final proof in writing (email confirmation is sufficient)
- Production starts only after written approval
Most vendors allow two rounds of revisions at no charge. A third round often triggers a revision fee and, more importantly, a production delay. Approve carefully the first time.
Physical sample vs. digital mockup:
A paid physical sample adds 5–7 days and a sample cost, but it’s worth it for orders over 100 pieces or any new fit you haven’t worn before. For repeat orders of a proven design on a known product, a digital mockup is sufficient. Never approve a physical sample and then request changes to the digital design afterward. That restarts the sample loop.
How do decoration methods affect quality, durability, and lead times?
The decoration method you choose shapes not just how the apparel looks, but how long it lasts and how long it takes to produce.
| Method | Visual outcome | Durability | Best for | Time impact |
|---|---|---|---|---|
| Sublimation | Full-color, all-over, photographic | Excellent (dye in fabric) | Performance jerseys, full-color designs | Moderate setup; fast once approved |
| Screen printing | Solid colors, bold graphics | Good (ink on fabric) | T-shirts, hoodies with simple logos | Slower with multiple colors (one screen per color) |
| Embroidery | Raised, textured, premium feel | Excellent (thread) | Hats, hoodies, chest logos | Adds 1–3 days for digitizing |
| Heat transfer | Smooth, detailed | Moderate (surface application) | Small runs, individual names/numbers | Fastest setup and production |
For customizable hockey clothing that will see ice bags, locker rooms, and daily wear, sublimation and embroidery hold up best. Heat transfer is a smart choice when time is short and the order is small, but expect more wear over a full season.
QC checklist to request from your vendor:
- Fabric inspection: weight, color consistency, no defects in raw material
- Print registration: design centered and aligned per approved mockup
- Seam strength: stress points on sleeves, collar, and hem
- Name and number accuracy: every player verified against the submitted roster
- Batch sampling: random pull from each production lot, not just the first piece off the line
Common defects and how vendors resolve them:
- Color bleed (sublimation): colors bleeding into adjacent areas; caused by incorrect temperature or pressure. Vendor reprints affected pieces.
- Misaligned print (screen print): design off-center or crooked. Vendor reprints; check the mockup approval to confirm placement specs were clear.
- Incorrect name or number: vendor error means a free reprint; organizer error on the submitted roster means a re-order at cost.
- Loose stitching (embroidery): thread pulling at edges. Vendor repairs or replaces.
For multi-item orders, request that the vendor batch by production lot and confirm Pantone color strikes at the start of each lot. This keeps colors consistent across sizes and makes reorders easier to match later.
Pro Tip: Ask your vendor for production photos at two points: when the first pieces come off the line and before the pre-ship inspection. This adds minimal time on their end and gives you a chance to catch issues before the whole order ships.
How does shipping and fulfillment work for bulk team orders?
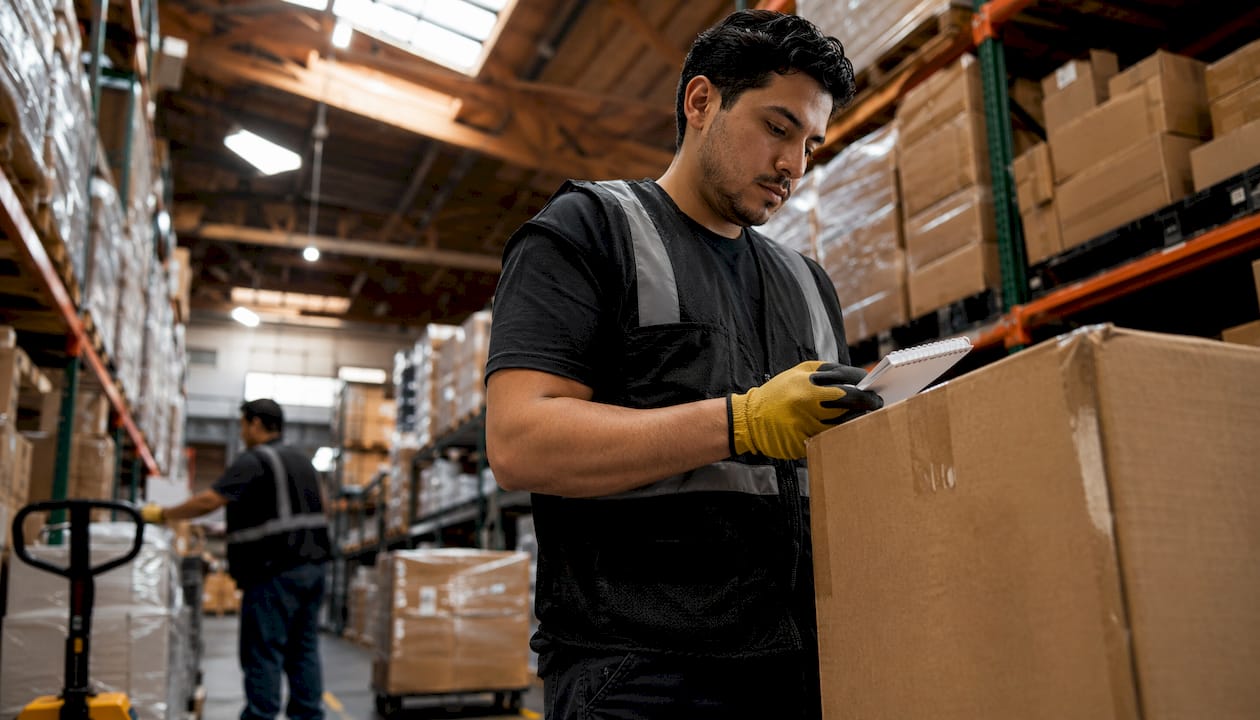
Once production and QC clear, the order moves to fulfillment. How it ships depends on a decision you make at the quote stage.
| Fulfillment option | Best for | Timeline impact | Cost impact | Coordination work |
|---|---|---|---|---|
| Single bulk shipment to coach | Most team orders | Fastest to ship | Lowest per-unit | Coach distributes locally |
| Split shipments to multiple addresses | Multi-location teams | Adds 1–2 days per split | Moderate (multiple labels) | Manager coordinates addresses |
| Individual dropship to players | Online team stores | Slowest overall | Highest per-unit | Minimal for manager |
For most youth hockey teams, a single bulk shipment to the coach or rink is the right call. It’s the fastest, cheapest, and simplest option. Individual dropship makes sense when players are geographically spread out or when the order runs through an online team store.
What to expect in the box:
- Size-sorted poly bags, ideally labeled with player name and number
- A packing list showing quantities, sizes, and item descriptions
- Team-tagged cartons if the order is large enough to split into multiple boxes
- Commercial invoice (for any cross-border shipments)
Tracking and insurance:
Domestic US shipments via UPS, FedEx, or USPS Priority typically include tracking from dispatch. Ask your vendor to send the tracking number the day the order ships, not when it’s picked up. For orders over $500, confirm whether the vendor’s carrier insurance covers the full replacement value; if not, request declared value coverage.
Receiving inspection checklist:
- Count total pieces against the packing list before signing anything
- Open each poly bag and verify player name, number, and size
- Check for visible print defects, color inconsistencies, or damaged seams
- Photograph any discrepancy immediately
- Report issues to the vendor within 48 hours of delivery; most vendors have a claims window
The custom team apparel fulfillment process ends at your receiving dock, not at the vendor’s shipping door. A thorough inspection protects you if anything needs to be resolved.
What can you do to speed up the process and avoid delays?
Most delays in team apparel orders are preventable. They come from the organizer’s side, not the vendor’s production floor.
Priority checklist: finalize these before you contact the vendor
- Design locked and approved by all stakeholders (coach, athletic director, sponsors)
- Vector logo files in hand (not a screenshot, not a PDF with embedded fonts)
- Complete roster with sizes, names, and numbers
- Delivery address confirmed
- Budget approved and payment method ready
Tactics to compress lead times:
- Submit artwork in the vendor’s preferred format (vector AI or EPS) on the first contact. Raster files that need redrawing add 1–3 days before the mockup even starts.
- Consolidate SKUs. Fewer product types mean simpler production batching and faster QC.
- Pre-pay the deposit the same day you approve the mockup. Every day between approval and deposit is a day of production time lost.
- Ask about express production windows upfront. Many vendors offer 2–7 business day production for a surcharge; knowing the cost early lets you budget for it rather than scrambling later.
- When time is critically short, switch to heat transfer for individual name/number personalization instead of full sublimation. You trade some durability for speed.
Common delay causes and how to prevent them:
- Late proof approval: Set a personal deadline of 24 hours after receipt. Loop in a co-manager if you’ll be traveling.
- Incomplete artwork: Send a file checklist to yourself before submitting. Missing font outlines or low-resolution logos are the two most common issues.
- Missing sizes: Set a roster deadline 5 days before your deposit date. Chase stragglers at day 3.
- Sponsor sign-off delays: Get sponsor artwork and written approval before you contact the vendor, not after.
Pro Tip: Assign one person as the single point of contact with the vendor. Multiple people emailing the same account rep with conflicting instructions is one of the most reliable ways to create errors and delays. One voice, one thread.
How Rnkapparel handles a real team order end-to-end
Rnkapparel’s process for a typical mid-size hockey team order follows the same structure described above, with specific touchpoints built for coaches and managers who may be running their first bulk order.
What a buyer experiences when ordering from Rnkapparel:
- Submit your quote request online with product type, quantity, decoration preference, and target delivery date
- Receive a design consultation and digital mockup within 24–48 hours of submitting complete artwork
- Review and approve the mockup; Rnkapparel’s team flags any file issues before production, not after
- Pay the deposit to lock your production slot
- Production milestones communicated at start, mid-run, and pre-ship
- QC inspection with production photos available on request
- Shipment with tracking; receiving support if any issues arise
Rnkapparel’s product range covers the full scope of what hockey teams typically order: custom hockey t-shirts, hoodies, long-sleeve tees, joggers, and accessories, all with options for team logos, player names, and numbers.
Example timeline: 30-piece adult hockey hoodie order, standard production
| Day | Milestone | Owner |
|---|---|---|
| Day 1 | Quote submitted; artwork and roster received | Coach |
| Day 2 | Digital mockup delivered | Rnkapparel |
| Day 3 | Mockup approved; deposit paid | Coach |
| Days 4–13 | Production | Rnkapparel production |
| Day 14 | QC inspection; production photos sent | Rnkapparel QC |
| Day 15 | Final payment; order dispatched | Coach / Rnkapparel |
| Days 16–20 | Domestic shipping | Carrier |
| Day 21 | Delivery and receiving inspection | Coach |
Before your first call or order submission, prepare:
- Your team logo in vector format (AI, EPS, or SVG)
- A complete size roster with player names and numbers
- Your target delivery date and any hard deadlines (season opener, tournament)
- Pantone or hex color references for your team colors
- A clear decision on decoration method (sublimation, screen print, embroidery, or heat transfer)
Your ready-to-copy checklist and sample schedules
One-page order checklist
Before contacting the vendor:
- [ ] Design finalized and approved by all stakeholders
- [ ] Vector logo files ready (AI, EPS, or SVG; fonts outlined)
- [ ] Pantone or hex color references confirmed
- [ ] Sponsor artwork and written approvals collected
- [ ] Complete size roster (name, number, size for every player)
- [ ] Delivery address and any split-shipment instructions confirmed
- [ ] Budget approved; payment method ready
- [ ] Target delivery date set with 3-day buffer built in
During the order:
- [ ] Mockup reviewed and approved within 24 hours of receipt
- [ ] All revision requests submitted in one consolidated list
- [ ] Deposit paid same day as mockup approval
- [ ] Production photos requested at mid-run and pre-ship
- [ ] Final payment ready before dispatch
On delivery:
- [ ] Count all pieces against the packing list
- [ ] Verify each player’s name, number, and size
- [ ] Photograph any defects or discrepancies
- [ ] Report issues to vendor within 48 hours
3-week fast plan
- Day 1: Submit artwork, roster, and quote request
- Day 2: Receive and approve digital mockup; pay deposit
- Days 3–12: Production (10 business days, standard)
- Days 13–14: QC inspection
- Day 15: Pay balance; order ships
- Days 16–21: Domestic transit and delivery
6-week conservative plan (with physical sample)
- Week 1: Submit artwork and roster; receive and approve mockup; pay deposit
- Week 2: Physical sample produced and shipped
- Week 3: Sample received, reviewed, and approved; any fit changes confirmed
- Weeks 4–5: Bulk production
- End of Week 5: QC, final payment, dispatch
- Week 6: Delivery and receiving inspection
Copyable email template for your team and vendor:
Key Takeaways
A well-run team apparel order comes down to three things you control: locked artwork, a complete size roster, and a deposit paid the same day you approve the mockup.
| Point | Details |
|---|---|
| Lock design before anything else | Artwork revisions after mockup approval are the leading cause of production delays. |
| Submit a complete roster upfront | Missing sizes after production starts trigger costly partial re-runs; set a hard deadline 5 days before deposit. |
| Pay the deposit immediately | Most vendors won’t start production until the deposit clears; same-day payment after mockup approval is the fastest path to production. |
| Match decoration method to your timeline | Embroidery and sublimation deliver the best durability; heat transfer is fastest when time is short. |
| Rnkapparel covers the full team order | From custom hockey tees to hoodies and joggers, Rnkapparel handles team orders with design support, production milestones, and QC photos on request. |
The part most coaches underestimate
The biggest misconception about team apparel orders is that the vendor controls the timeline. They don’t. Production is fast once it starts. The delays almost always happen on the organizer’s side: artwork that isn’t ready, a roster with three missing sizes, a proof sitting in someone’s inbox for four days waiting for approval.
The vendors I’ve seen teams work with most successfully are the ones where the coach came in prepared. Not perfectly prepared, just prepared enough: a vector file, a complete roster, and a clear delivery date. That combination lets a vendor move immediately instead of spending the first week chasing information.
There’s also a tendency to over-engineer the process. Teams that spend two weeks debating sublimation vs. screen printing and never submit their deposit end up ordering rush production at a premium. Pick the decoration method that fits your budget and your timeline, approve the mockup in one round, and pay the deposit. The apparel will be good. The players will wear it. The season will start.
One practical note: if you’re ordering for a youth team, build in the extra sizing buffer. Kids grow, parents guess wrong, and a hoodie that’s too small in November is a problem in January. Order extras weighted toward the middle of your roster’s size range—it’s cheaper than a reorder.
Ready to place your team order with Rnkapparel?
Rnkapparel is built for exactly this: hockey teams that need custom apparel done right, without the back-and-forth that eats up a coach’s time. The product range covers everything a team typically orders in one place, from custom hockey t-shirts to hoodies, long-sleeve tees, joggers, and accessories, all with options for team logos, player names, and numbers.
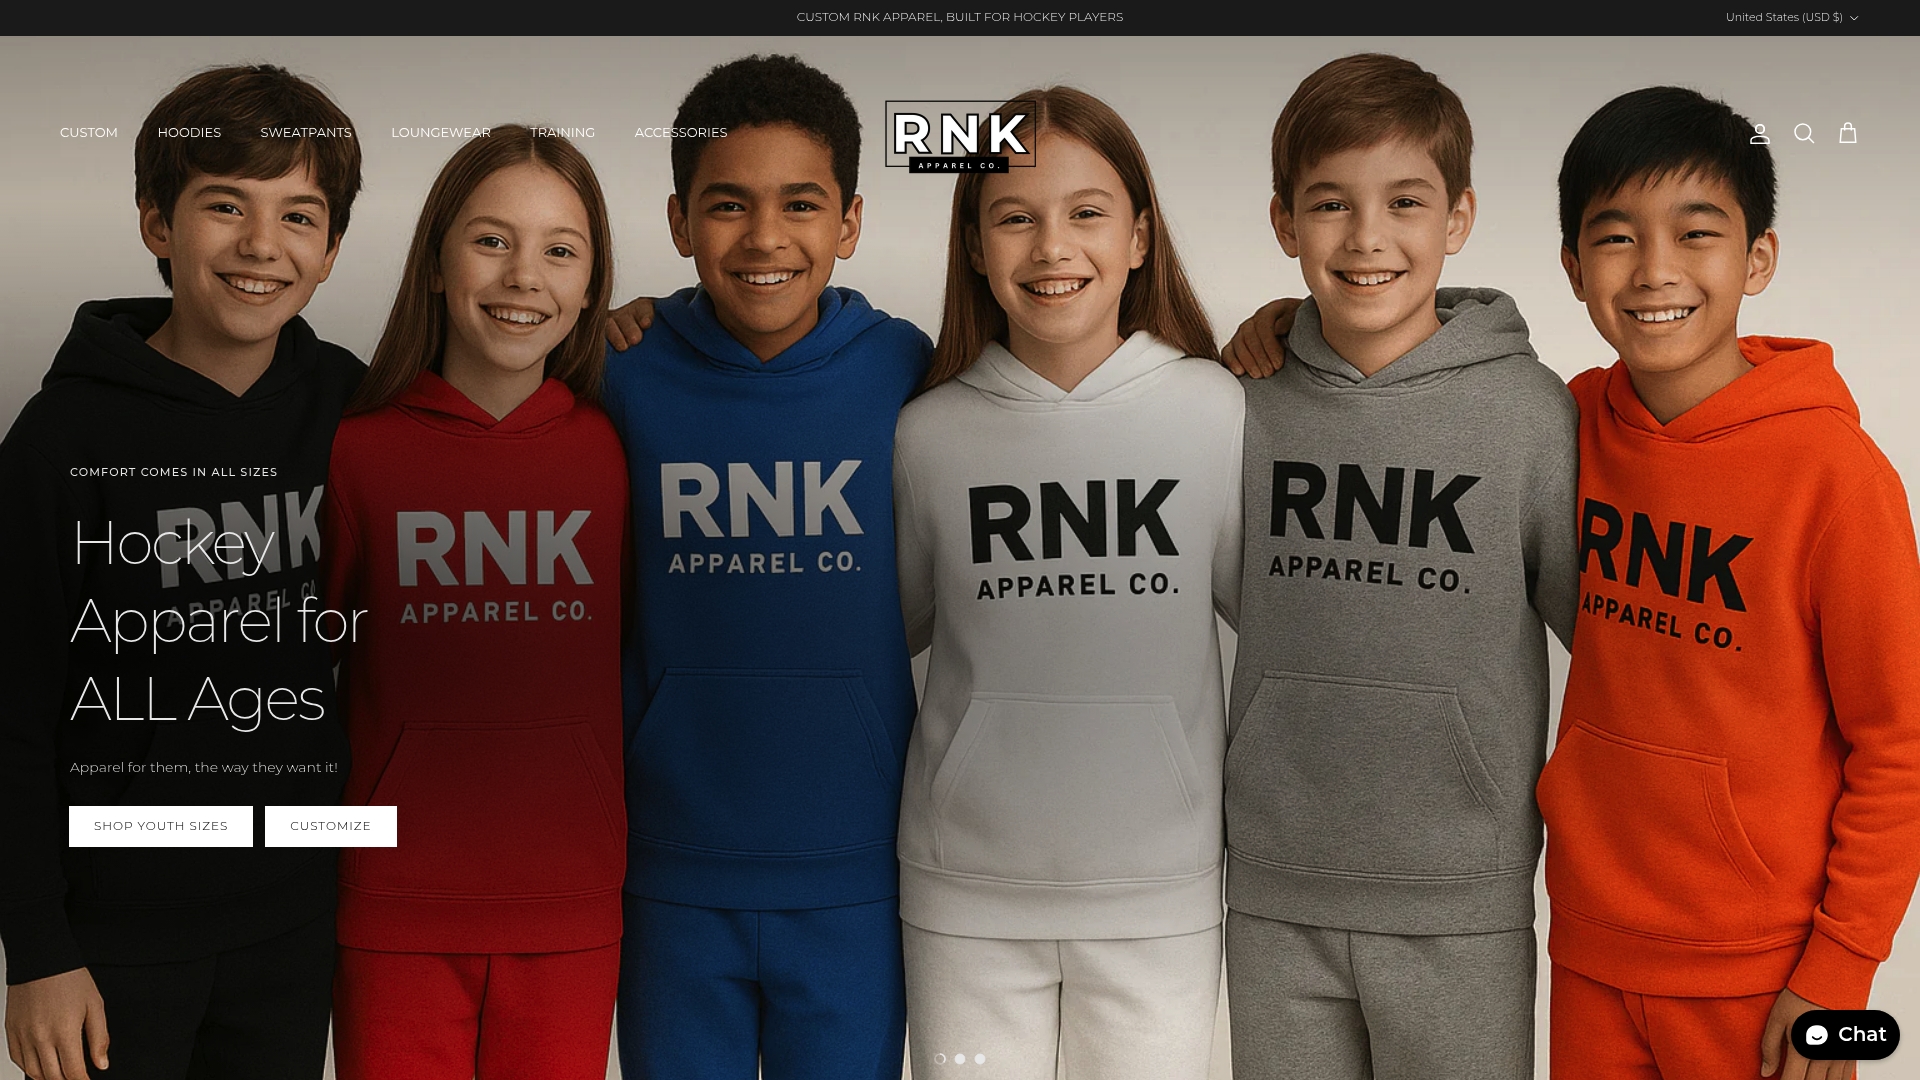
Before you reach out, pull together four things: your vector logo file, a complete size roster, your team colors (Pantone or hex), and your target delivery date. With those in hand, Rnkapparel’s team can turn around a mockup fast and get your order into production without delays.
Browse the full collection or start your team order at rnkapparel.com. If you’re adding accessories or extras to round out the order, the hockey accessories collection has the add-ons most teams reach for.
Useful sources and further reading
- Custom Team Apparel Fulfillment: The 2026 Guide to Risk-Free Gear — Rnkapparel — Rnkapparel’s in-depth guide on fulfillment logistics, risk management, and what to expect at each stage.
- Bulk Order Youth Hockey Sweatshirts for Your Team — Rnkapparel — Practical guidance on sizing buffers, MOQs, and extras for youth team orders.
- How to Get Your Team Logo on Custom Apparel — Rnkapparel — File preparation, logo formats, and proof expectations explained for coaches.
- How to Order Custom Team Uniforms — Spotem Sportswear — Representative end-to-end timeline and payment structure used as a reference throughout this guide.
- How to Order Custom Team Uniforms in Bulk — Pro Sportista — Conservative schedule benchmarks and MOQ guidance for larger orders.
Recommended
- Custom Team Apparel Fulfillment: The 2026 Guide to Risk-Free Gear – RNK Apparel Co.
- How to Get Your Team Logo on Custom Apparel – RNK Apparel Co.
- Design Youth Hockey Team Gear: A Coach’s Guide – RNK Apparel Co.
- Personalized Hockey Coach Gift Guide: Performance Gear They’ll Actually Wear (2026) – RNK Apparel Co.
